
The Ultimate Glazed Apple Cider Bundt Cake Recipe
Estimated reading time: 7 minutes | Prep time: 25 minutes | Total time: 2 hours 45 minutes
Key Takeaways
- Incredibly Moist & Flavorful: This cake features an ultra-moist, tender crumb thanks to sour cream and grated apple, with a deep, concentrated apple flavor from a homemade cider reduction.
- Beginner-Friendly Recipe: With simple, step-by-step instructions, even novice bakers can create a stunning and delicious homemade bundt cake from scratch.
- Perfect Make-Ahead Dessert: This cake stores beautifully and is freezer-friendly, making it an ideal choice for holiday planning or stress-free entertaining.
- Versatile Serving Options: Delicious on its own with coffee or tea, but can be elevated into a decadent dessert with a scoop of vanilla ice cream or a dollop of whipped cream.
Table of Contents
Why You’ll Love This Apple Cider Bundt Cake Recipe
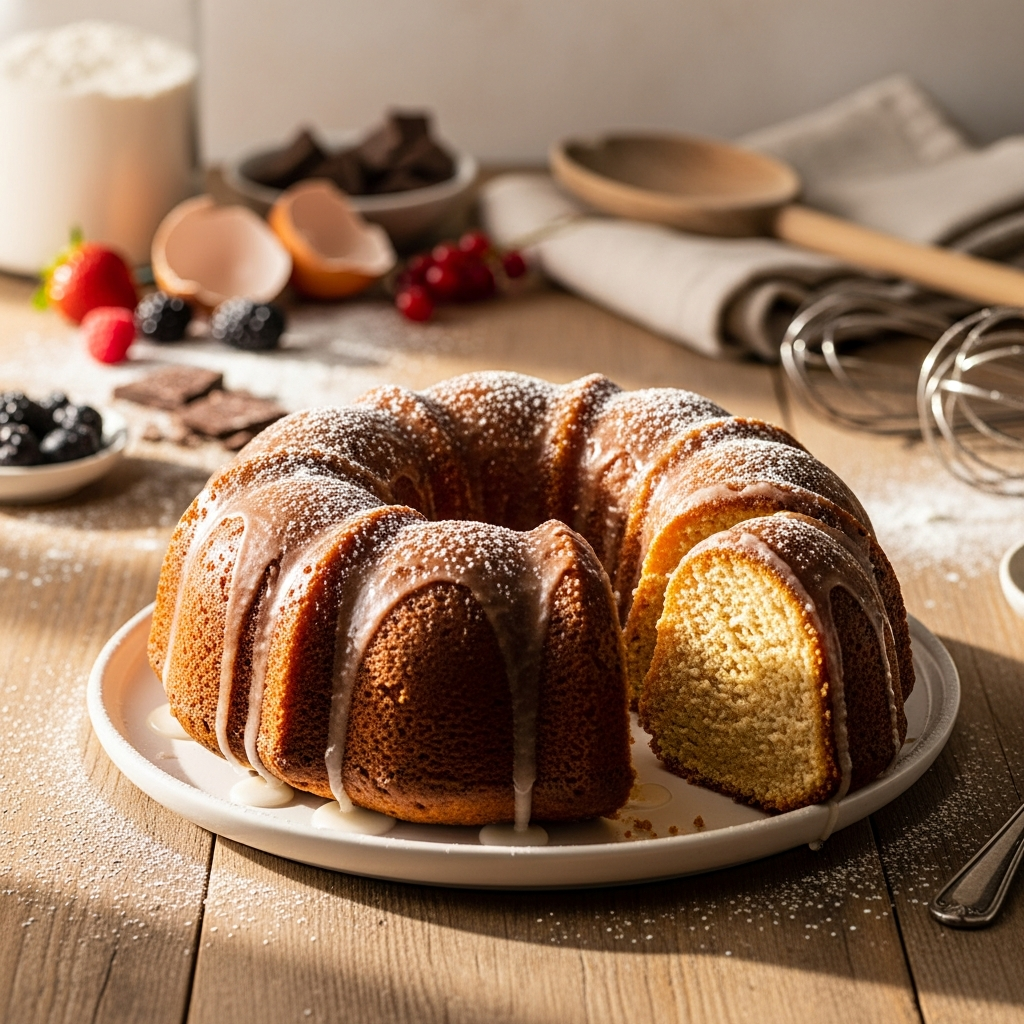
Welcome to the only Apple Cider Bundt Cake recipe you’ll ever need! This cake is the essence of autumn baked into a beautiful, classic shape. It’s incredibly moist, packed with warm spices like cinnamon and nutmeg, and features a deep, authentic apple flavor that comes from a secret weapon: a concentrated apple cider reduction. Unlike other recipes that have a barely-there apple taste, this one is robust, sweet, and tangy in every single bite. The simple cider glaze on top adds the perfect touch of sweetness and makes for a stunning presentation.
What makes this homemade dessert so special is its perfect texture. The combination of sour cream and finely grated fresh apple creates a tender, soft crumb that stays moist for days. It’s a simple recipe that delivers impressive, bakery-quality results. Whether you’re looking for a family-friendly dessert for a cozy weekend, a showstopper for a Thanksgiving or holiday gathering, or just a sweet treat to enjoy with a warm drink, this glazed apple cider bundt cake is always the right answer. It’s a delightful way to celebrate the flavors of the season from scratch.
Ingredients You’ll Need
Using high-quality, room-temperature ingredients is the key to achieving the perfect texture for this Apple Cider Bundt Cake. Here’s what you’ll need:
For the Apple Cider Reduction:
- 2 cups (480ml) apple cider
For the Bundt Cake:
- 3 cups (360g) all-purpose flour
- 2 teaspoons baking powder
- 1/2 teaspoon baking soda
- 1 teaspoon ground cinnamon
- 1/2 teaspoon ground nutmeg
- 1/4 teaspoon ground allspice
- 1 teaspoon salt
- 1 cup (227g) unsalted butter, at room temperature
- 1 cup (200g) granulated sugar
- 1/2 cup (110g) packed light brown sugar
- 3 large eggs, at room temperature
- 2 teaspoons vanilla extract
- 1 cup (240ml) full-fat sour cream, at room temperature
- 1 medium apple (like Granny Smith or Honeycrisp), peeled and finely grated
For the Apple Cider Glaze:
- 1 1/2 cups (180g) powdered sugar, sifted
- 2-3 tablespoons reserved apple cider reduction
- 1/2 teaspoon vanilla extract
Step-by-Step Instructions
- Step 1: Reduce the Apple Cider. First, pour the 2 cups (480ml) of apple cider into a small saucepan. Bring it to a simmer over medium heat. Then, continue to simmer until the cider has reduced by half, down to 1 cup (240ml). This process usually takes about 15-20 minutes. Set it aside to cool completely. Consequently, this step is crucial for concentrating the apple flavor.
- Step 2: Prepare Oven and Pan. Preheat your oven to 350°F (175°C). Next, thoroughly grease and flour your 10 or 12-cup Bundt pan, making sure to get into every crevice to prevent sticking. Alternatively, you can use a non-stick baking spray that contains flour.
- Step 3: Combine Dry Ingredients. In a medium bowl, whisk together the 3 cups (360g) of all-purpose flour, baking powder, baking soda, cinnamon, nutmeg, allspice, and salt. Sifting the flour first will result in a lighter crumb. Set this dry mixture aside for later.
- Step 4: Cream Butter and Sugars. In a large bowl or the bowl of a stand mixer, beat the room-temperature butter until it is smooth and creamy. Subsequently, add the granulated sugar and light brown sugar. Cream them together on medium-high speed for 3-5 minutes, until the mixture is light, pale, and fluffy.
- Step 5: Add Eggs and Vanilla. Add the eggs one at a time, beating well after each addition and scraping down the sides of the bowl as needed. Make sure each egg is fully incorporated before adding the next. Finally, beat in the vanilla extract.
- Step 6: Alternate Wet and Dry Ingredients. Now, you will combine the mixtures. With the mixer on low speed, add about one-third of the dry ingredients to the butter mixture, mixing just until combined. Next, add half of the cooled apple cider reduction and half of the sour cream. Continue alternating, ending with the final third of the dry ingredients. Mix only until the last streaks of flour disappear; do not overmix.
- Step 7: Fold in the Apple. Gently fold the finely grated apple into the batter using a silicone spatula. The grated apple adds moisture and small pockets of apple flavor throughout the cake. Immediately pour the finished batter evenly into your prepared Bundt pan and smooth the top.
- Step 8: Bake the Cake. Place the pan in the preheated oven. Bake for 50-60 minutes. The cake is done when a long wooden skewer or toothpick inserted into the center comes out clean or with a few moist crumbs attached.
- Step 9: Cool the Cake. Once baked, let the Bundt cake cool in the pan on a wire rack for exactly 15 minutes. This is a critical step; cooling for too short or too long can cause the cake to stick. After 15 minutes, carefully invert the cake onto the wire rack to cool completely.
- Step 10: Prepare and Apply the Glaze. While the cake is cooling, prepare the glaze. In a small bowl, whisk together the sifted powdered sugar, vanilla, and 2 tablespoons of the reserved apple cider reduction. Add more cider reduction, a half-teaspoon at a time, until you reach your desired drizzling consistency. Once the cake is completely cool, drizzle the glaze over the top, letting it drip down the sides. Allow the glaze to set for about 30 minutes before serving.
Baking Tips, Variations & Substitutions
Pro Tips for the Perfect Apple Cider Bundt Cake
- Don’t Skip the Cider Reduction. Simmering the apple cider concentrates its flavor exponentially. Using un-reduced cider will result in a very mild, almost unnoticeable flavor. This is the most important step for a rich, authentic taste.
- Properly Prep Your Bundt Pan. Bundt cakes are notorious for sticking. For a perfect release, use softened butter or shortening and a pastry brush to coat every single nook and cranny of the pan. Afterwards, dust generously with flour and tap out any excess.
- Room Temperature is Key. For a smooth, emulsified batter, ensure your butter, eggs, and sour cream are all at room temperature. This allows the ingredients to combine uniformly, creating a tender and even crumb. Cold ingredients can cause the batter to curdle.
- Avoid Overmixing at All Costs. Once you begin adding the flour, mix on the lowest speed and only until the ingredients are just combined. Overmixing develops the gluten in the flour, which can lead to a tough, dense, and dry cake.
Easy Variations You Can Try
- Add a Crunch: Fold in 1 cup of toasted chopped walnuts or pecans along with the grated apple for a wonderful nutty flavor and texture.
- Caramel Drizzle: Instead of or in addition to the cider glaze, drizzle the cooled cake with your favorite salted caramel sauce for an extra decadent treat.
- Gluten-Free Option: You can substitute the all-purpose flour with a high-quality 1-to-1 gluten-free baking flour blend that contains xanthan gum. The texture may be slightly different, but it will still be a delicious homemade dessert.
- Spice it Up: For even more warmth, add 1/4 teaspoon of ground ginger or cardamom to the dry ingredients.
How to Serve & Store Your Apple Cider Bundt Cake
This Glazed Apple Cider Bundt Cake is wonderful served on its own with a cup of coffee or tea. For an even more decadent dessert, you can serve a slice warm with a scoop of vanilla bean ice cream or a dollop of fresh whipped cream. To store, keep the cake in an airtight container at room temperature for up to 3 days. If you need to store it longer, it will keep in the refrigerator for up to a week, though it’s best brought to room temperature before serving. You can also freeze individual slices wrapped tightly in plastic wrap and then foil for up to 3 months. If you enjoyed this recipe, you might also love our ultra-moist banana bread.
Watch: How to Make It


Frequently Asked Questions
What are the best apples to use for this cake?
A firm, tart apple like a Granny Smith is an excellent choice as it holds its shape and provides a nice contrast to the sweet cake. Other great options for this Apple Cider Bundt Cake include Honeycrisp, Braeburn, or Jonagold. Avoid softer apples like Red Delicious, as they can become mushy when baked.
Can I freeze this Apple Cider Bundt Cake?
Yes, this cake freezes beautifully. For best results, freeze the cake un-glazed. Wrap the completely cooled cake tightly in two layers of plastic wrap, followed by a layer of aluminum foil. It can be frozen for up to 3 months. Thaw it overnight at room temperature and then apply the glaze before serving.
Can I reduce the sugar in this recipe?
You can reduce the sugar by about 1/4 cup without drastically affecting the outcome, but it’s not highly recommended. Sugar provides more than just sweetness; it contributes to the cake’s moisture, tenderness, and browning. Reducing it too much will result in a drier, less flavorful cake.
Can I make this cake ahead of time?
Absolutely! This is a great make-ahead dessert. You can bake the cake up to two days in advance. Store it, un-glazed and well-wrapped, at room temperature. Apply the fresh glaze a few hours before you plan to serve it for the best results.