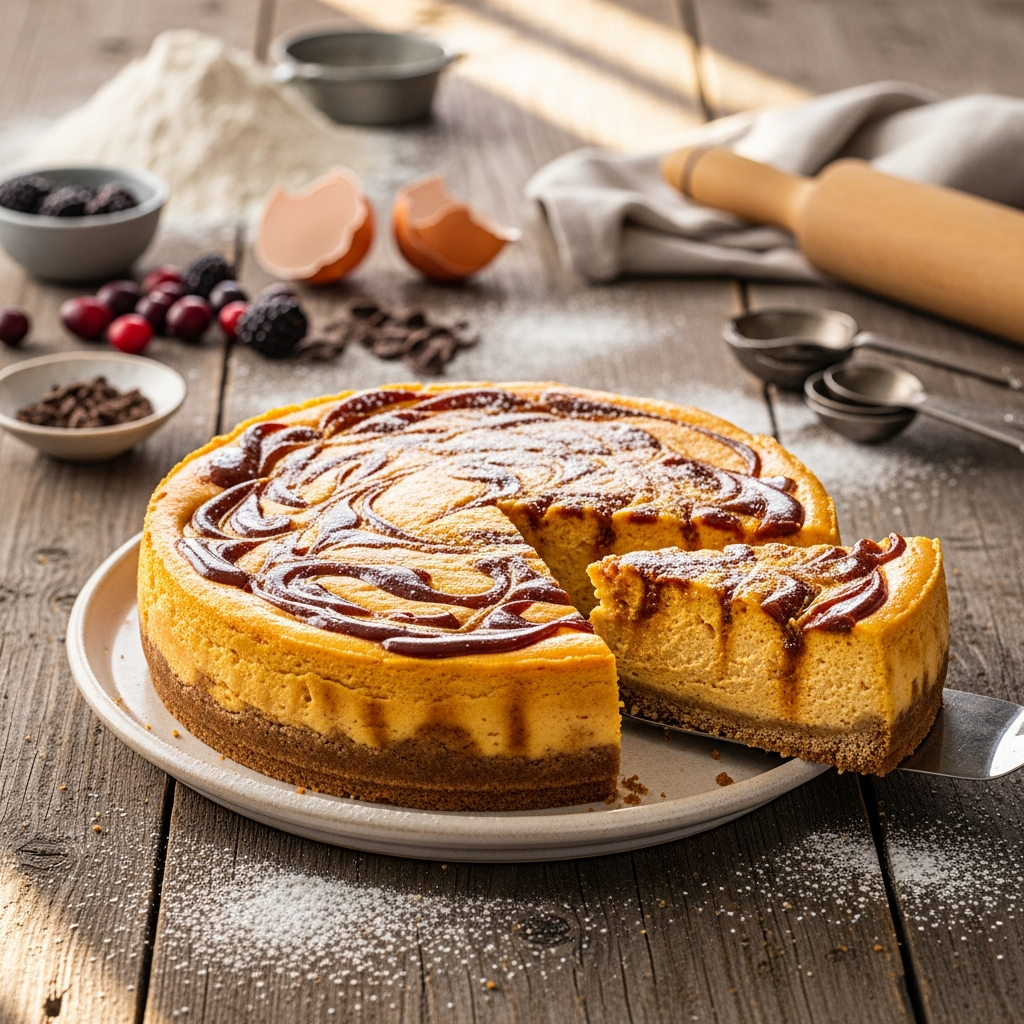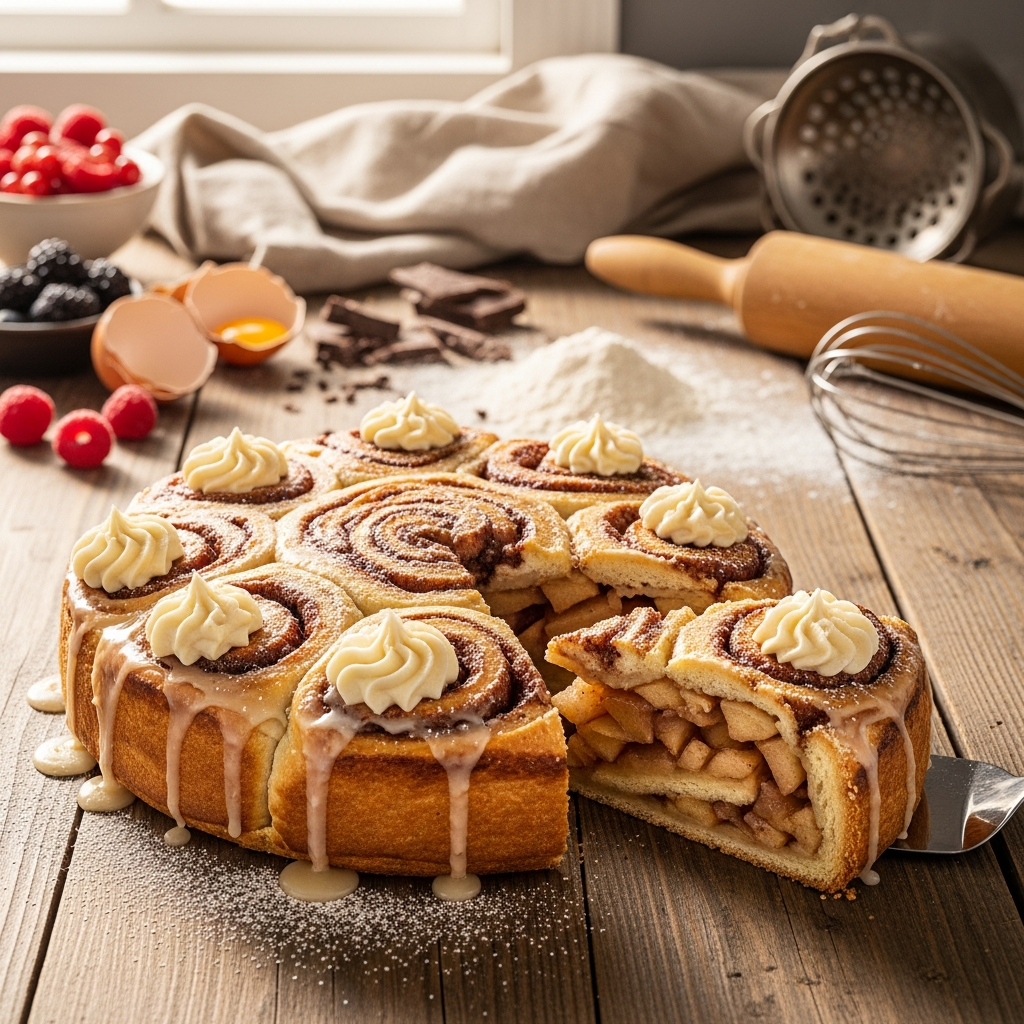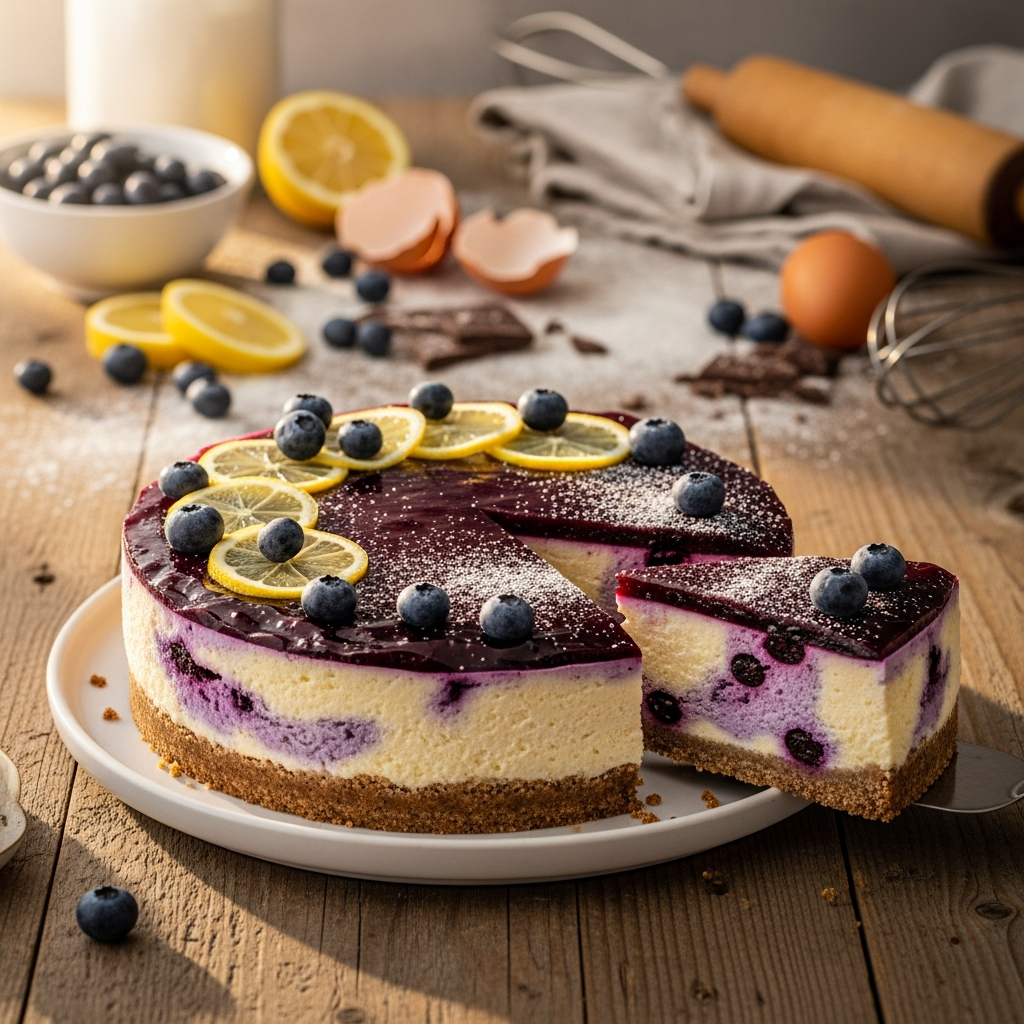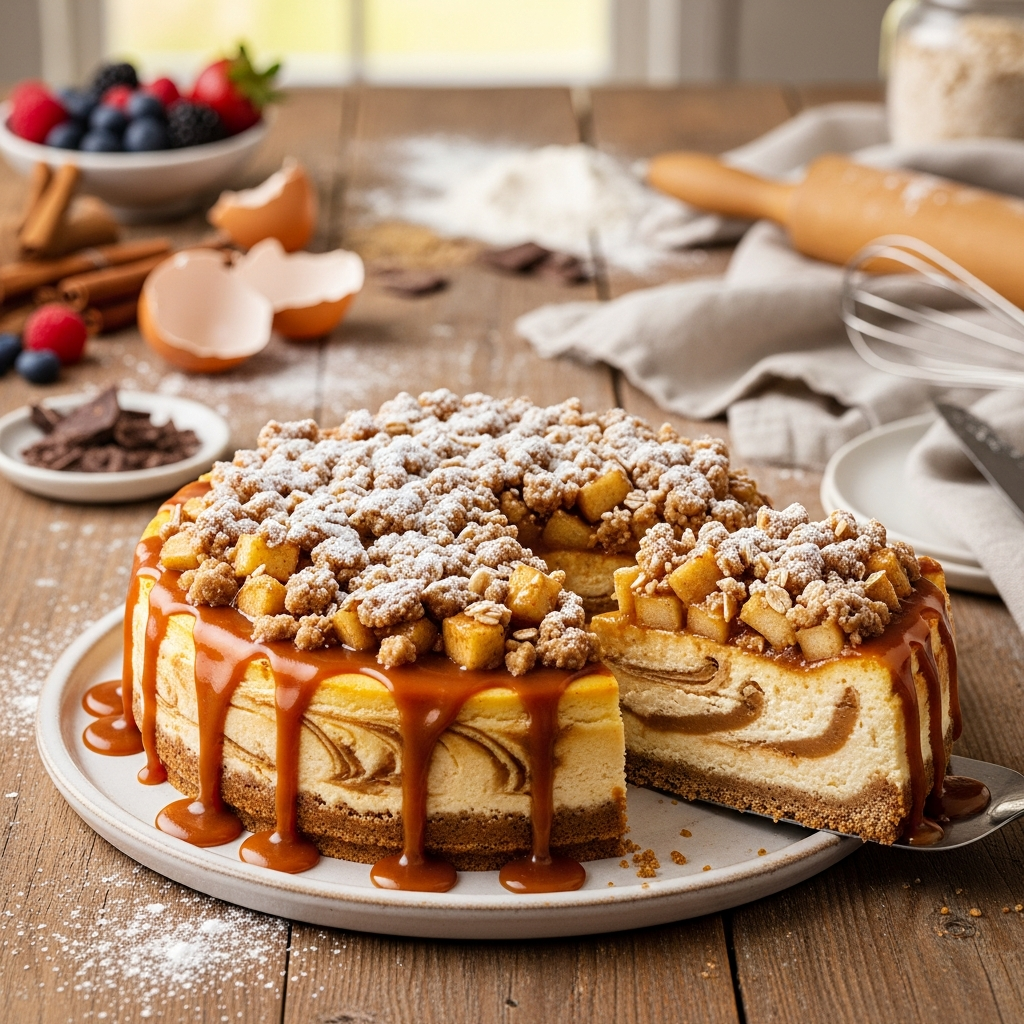
The Ultimate Caramel Apple Crisp Cheesecake: Your New Favorite Dessert
Estimated reading time: 7 minutes | Prep time: 70 minutes | Total time: Approx. 11.5 hours (includes chilling)
Key Takeaways
- Four Layers of Heaven: This recipe features a buttery graham cracker crust, a rich and creamy cheesecake filling, a layer of tender spiced apples, and a crunchy oat streusel topping.
- Perfect Flavor Balance: The tang of cream cheese and tart apples cuts through the sweetness of the cheesecake and salted caramel, creating a perfectly balanced homemade dessert.
- Crack-Free Guarantee: Our detailed water bath and slow cooling instructions ensure a silky, smooth cheesecake surface without a single crack.
- Make-Ahead Masterpiece: This cheesecake is the perfect make-ahead dessert for holidays, parties, or any special occasion, as it needs to chill overnight and tastes even better the next day.
- Versatile & Crowd-Pleasing: A certified crowd-pleaser that combines two beloved desserts—apple crisp and cheesecake—into one unforgettable treat.
Table of Contents
Why You’ll Love This Caramel Apple Crisp Cheesecake Recipe
Welcome to the dessert that will define your fall baking season. This incredible Caramel Apple Crisp Cheesecake is the ultimate fusion of two classic, comforting desserts. Imagine a thick, buttery graham cracker crust providing the perfect foundation for the creamiest, dreamiest cheesecake filling you’ve ever tasted. But it doesn’t stop there. On top, you’ll find a layer of thinly sliced, cinnamon-spiced apples that bake into tender perfection, all crowned with a crunchy, golden-brown oat crisp topping. To finish it off, a generous drizzle of homemade salted caramel ties everything together in a symphony of sweet and salty flavors.
This recipe may look impressive with its distinct layers, but it’s a surprisingly simple recipe to follow from scratch. We break down every component into easy-to-manage steps, ensuring a flawless result even for first-time cheesecake bakers. From creating the lump-free filling to mastering the water bath for a perfectly even bake, this guide has you covered. The combination of textures—the snap of the crust, the silkiness of the filling, the softness of the apples, and the crunch of the streusel—makes every bite an experience.
Whether you’re looking for a show-stopping dessert for a holiday gathering like Thanksgiving or Christmas, or simply want to treat your family to a special homemade dessert, this Caramel Apple Crisp Cheesecake is the answer. It’s a family-friendly dessert that feels both elegant and cozy, promising rave reviews and requests for the recipe every single time.
Ingredients You’ll Need
Using high-quality, room temperature ingredients is the secret to achieving the perfect texture for this Caramel Apple Crisp Cheesecake. Here’s what you’ll need for each delicious layer:
- For the Graham Cracker Crust:
- 1 1/2 cups (180g) graham cracker crumbs
- 1/4 cup (50g) packed light brown sugar
- 1/2 cup (113g) unsalted butter, melted
- 1/2 tsp ground cinnamon
- For the Apple Crisp Layer:
- 2 medium Granny Smith or Honeycrisp apples, peeled, cored, and thinly sliced
- 2 tbsp (25g) granulated sugar
- 1 tbsp (8g) all-purpose flour
- 1 tsp ground cinnamon
- 1/4 tsp ground nutmeg
- 1 tbsp fresh lemon juice
- For the Crisp Topping (Streusel):
- 1/2 cup (60g) all-purpose flour
- 1/2 cup (45g) old-fashioned rolled oats
- 1/2 cup (100g) packed light brown sugar
- 1/2 tsp ground cinnamon
- 1/4 cup (57g) cold unsalted butter, cut into small cubes
- For the Cheesecake Filling:
- 24 oz (680g) full-fat block cream cheese, softened to room temperature
- 1 cup (200g) granulated sugar
- 1/2 cup (120g) full-fat sour cream, at room temperature
- 1 tbsp vanilla extract
- 3 large eggs, at room temperature
- For the Salted Caramel Drizzle:
- 1 cup (200g) granulated sugar
- 1/4 cup (60ml) water
- 1/2 cup (120ml) heavy cream, warmed
- 3 tbsp (43g) unsalted butter, at room temperature
- 1 tsp flaky sea salt
Equipment Needed:
- 9-inch (23 cm) springform pan
- Large, medium, and small mixing bowls
- Electric stand mixer with a paddle attachment or a hand mixer
- Rubber spatula & Whisk
- Measuring cups and spoons
- Small saucepan for caramel
- Parchment paper & Aluminum foil
- Large roasting pan for water bath
- Wire cooling rack
Step-by-Step Instructions
Follow these detailed steps to create your decadent homemade cheesecake from scratch.
- Step 1: Preparation. First, preheat your oven to 350°F (175°C). Next, wrap the outside of your 9-inch springform pan with a double layer of heavy-duty aluminum foil, ensuring no water can seep in during the water bath. Finally, lightly grease the inside of the pan and set it aside.
- Step 2: Make the Crust. In a medium bowl, combine the graham cracker crumbs, brown sugar, and ground cinnamon. Pour in the melted butter and mix with a fork until the crumbs are evenly moistened, like wet sand. Firmly press this mixture into the bottom and about one inch up the sides of the prepared pan. Bake for 10 minutes. Afterwards, remove the crust from the oven and let it cool completely on a wire rack.
- Step 3: Prepare the Apple Layer. In another medium bowl, gently toss the thinly sliced apples with the fresh lemon juice to prevent browning. Then, add the granulated sugar, flour, cinnamon, and nutmeg. Stir until the apples are evenly coated and set the bowl aside. This allows the apples to macerate and release some of their juices.
- Step 4: Make the Crisp Topping. In a separate small bowl, combine the flour, rolled oats, brown sugar, and cinnamon. Add the cold, cubed butter. Using your fingertips or a pastry cutter, work the butter into the dry ingredients until the mixture resembles coarse, pea-sized crumbs. Place this bowl in the refrigerator to keep the butter cold until you are ready for assembly.
- Step 5: Mix the Filling. In a large bowl using an electric mixer, beat the room-temperature cream cheese on medium speed until completely smooth and free of lumps, about 2-3 minutes. Scrape down the sides and bottom of the bowl frequently. Next, add the granulated sugar and beat until smooth and creamy. Mix in the sour cream and vanilla extract until just combined.
- Step 6: Add the Eggs. With the mixer on its lowest speed, add the eggs one at a time, mixing just until the yellow of the yolk disappears after each addition. Be careful not to overmix here. Overmixing incorporates too much air, which is the primary cause of cracks in cheesecake.
- Step 7: Assemble the Layers. Pour the smooth cheesecake filling evenly over the pre-baked graham cracker crust. Next, carefully arrange the prepared apple slices in a single, even layer on top of the filling. Finally, sprinkle the chilled crisp topping evenly over the apples, covering them completely.
- Step 8: Bake with a Water Bath. Place the foil-wrapped springform pan into a large roasting pan. Carefully pour hot water into the roasting pan until it comes about halfway up the sides of the springform pan. Bake for 60-70 minutes. The cheesecake is done when the edges are set and the center has a slight wobble, similar to Jell-O.
- Step 9: Cool the Cheesecake Slowly. Turn off the oven, but leave the cheesecake inside with the oven door cracked open for 1 hour. This slow cooling process is a critical step for preventing cracks. Afterwards, carefully remove the cheesecake from the water bath and the roasting pan. Let it cool completely to room temperature on a wire rack.
- Step 10: Chill. Once at room temperature, cover the cheesecake with plastic wrap and transfer it to the refrigerator. Chill for at least 6 hours, but preferably overnight. This step is essential for the cheesecake to set properly for clean slicing and the best flavor.
- Step 11: Make the Salted Caramel. While the cheesecake chills, prepare the caramel. In a small, heavy-bottomed saucepan, combine the sugar and water. Cook over medium heat, swirling the pan occasionally (do not stir), until the sugar dissolves and the mixture turns a deep amber color. Immediately remove from heat and carefully whisk in the warm heavy cream; the mixture will bubble vigorously. Then, whisk in the butter and sea salt until smooth. Let the caramel cool completely before using.
- Step 12: Serve. Just before serving, carefully run a thin, sharp knife around the edge of the cheesecake and release the springform collar. Drizzle the cooled salted caramel generously over the top. Slice with a large, sharp knife, wiping the blade clean between each cut for perfect slices. Serve chilled.
Preparing the Toppings
Creating the Cheesecake Filling
Assembling and Baking
Baking Tips, Variations & Substitutions
Pro Tips for the Perfect Caramel Apple Crisp Cheesecake
- Room Temperature is Key: This is the golden rule of cheesecake baking. For a lump-free, silky smooth cheesecake filling, your cream cheese, sour cream, and eggs absolutely must be at room temperature. This allows them to blend together seamlessly.
- Don’t Overmix the Eggs: When you add the eggs, mix on the lowest speed possible and only until each one is just combined. Overmixing at this stage whips excess air into the batter, which causes the cheesecake to puff up in the oven and then fall and crack as it cools.
- Choose the Right Apples: Use firm, tart apples like Granny Smith, Honeycrisp, or Braeburn. These varieties hold their shape well during baking, won’t turn to mush, and provide a wonderful flavor contrast to the sweet cheesecake and caramel.
- Embrace the Water Bath: While it may seem like an extra step, a water bath (bain-marie) is your best friend for cheesecake. It provides gentle, even heat and crucial moisture in the oven. This combination is your best defense against a dry, cracked cheesecake surface.
- Patience is a Virtue: The slow cooling and long chilling times are non-negotiable for the best texture and flavor. Don’t rush these steps! The overnight chill allows the flavors to meld and the cheesecake to set firmly for those beautiful, clean slices.
Easy Variations You Can Try
- Add Nuts: For extra crunch and flavor, add 1/2 cup of chopped pecans or walnuts to the crisp topping mixture before sprinkling it over the apples.
- Different Crust: Swap the graham crackers for Biscoff cookies, shortbread, or gingersnaps for a different flavor profile.
- Spice it Up: Add a pinch of cardamom or allspice to the apple mixture for a more complex, warm spice flavor.
- Gluten-Free Option: To make this a gluten-free Caramel Apple Crisp Cheesecake, simply use your favorite gluten-free cookies for the crust, a quality 1-to-1 gluten-free flour blend in the apple layer and crisp topping, and ensure your rolled oats are certified gluten-free.
How to Serve & Store Your Caramel Apple Crisp Cheesecake
This cheesecake is best served chilled, directly from the refrigerator, to maintain its firm, creamy texture. The salted caramel drizzle should be applied just before serving for the best look and texture. It pairs wonderfully with a scoop of vanilla bean ice cream, a dollop of fresh whipped cream, or a warm cup of coffee.
To store, cover the cheesecake tightly with plastic wrap or place it in an airtight container. It will keep well in the refrigerator for up to 5 days. For longer storage, you can freeze the cheesecake. To do so, place the unsliced cheesecake (without the caramel sauce) on a baking sheet and freeze until firm. Then, wrap it tightly in a double layer of plastic wrap and a final layer of aluminum foil. It can be frozen for up to 2 months. Thaw it overnight in the refrigerator before slicing and serving with freshly made or rewarmed caramel sauce.
For another delicious fall dessert, try our incredible Moist Pumpkin Spice Bread recipe!
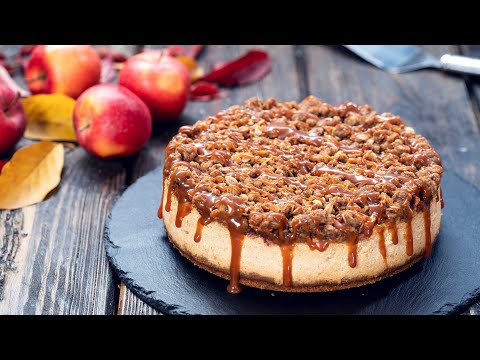
Watch: How to Make It
Frequently Asked Questions
Why did my cheesecake crack?
Answer: Cracking is usually caused by one of three things: overmixing the batter (especially after adding eggs, which incorporates too much air), overbaking, or cooling the cheesecake too quickly. Follow the instructions for room temperature ingredients, minimal mixing on low speed, and a slow cooling process in the turned-off oven to prevent cracks.
Can I freeze this Caramel Apple Crisp Cheesecake?
Answer: Yes, this cheesecake freezes beautifully. For best results, freeze it whole before adding the caramel sauce. Wrap it very well in a double layer of plastic wrap and foil and freeze for up to 2 months. Thaw it overnight in the refrigerator, then prepare and add the caramel drizzle just before serving for the best texture.
Can I make this recipe ahead of time?
Answer: Absolutely! In fact, this cheesecake must be made ahead of time. It requires a minimum of 6 hours to chill and set properly, but chilling it overnight is highly recommended for the best flavor and texture. You can make it up to 2 days in advance of serving.
Can I reduce the sugar content?
Answer: You can slightly reduce the sugar, but it will impact both the texture and flavor. Sugar contributes to the structure of the cheesecake. I recommend reducing the sugar in the apple layer by half if you prefer it less sweet, as the apples have natural sweetness. Reducing the sugar in the cheesecake filling may result in a tangier, less firm final product.
Can I make this gluten-free?
Answer: Yes, this is very easy to adapt. Simply substitute the graham crackers with your favorite gluten-free cookies for the crust. For the apple layer and crisp topping, use a good quality gluten-free all-purpose flour blend in place of the all-purpose flour. Also, ensure your rolled oats are certified gluten-free to avoid any cross-contamination.