“`html
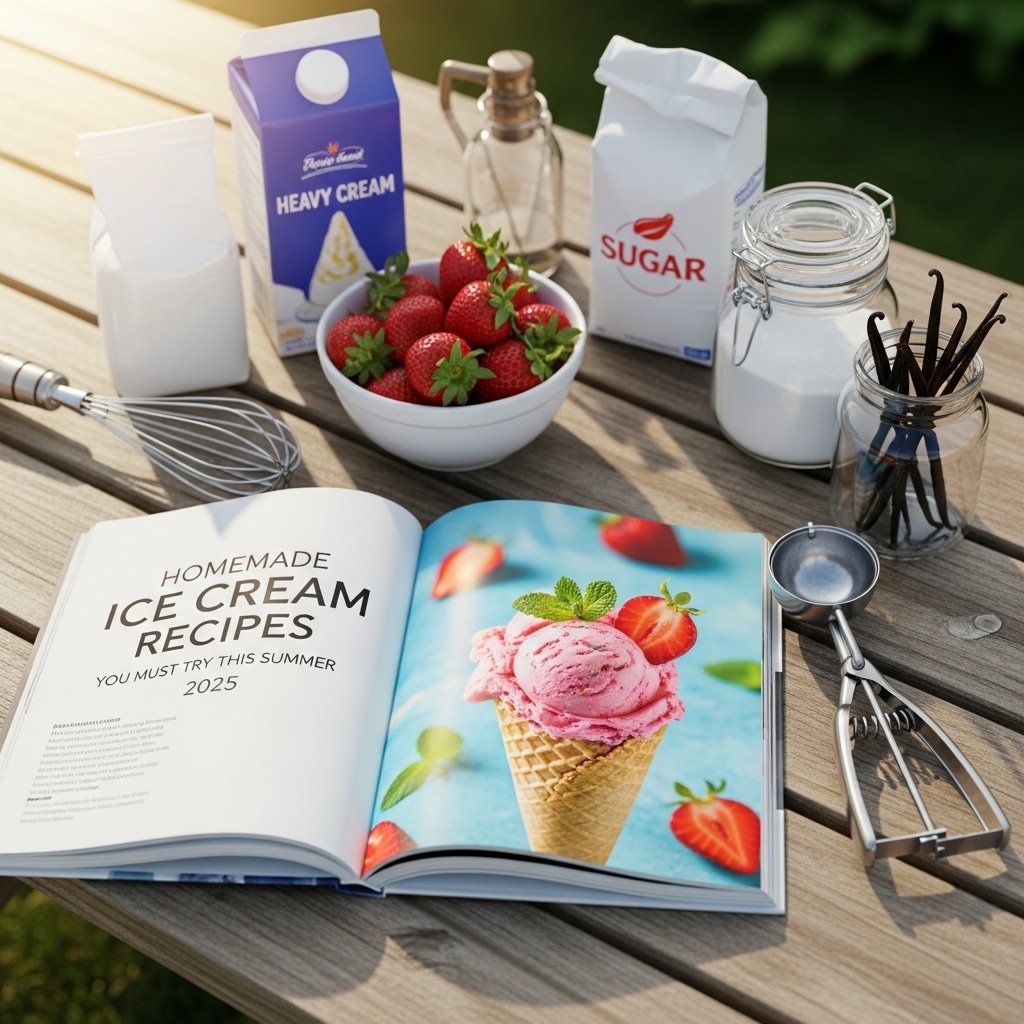
As the sun climbs higher and the days stretch longer, there’s nothing quite like a cool, creamy treat to beat the summer heat. While store-bought options are plentiful, there’s an undeniable magic and superior taste that comes with crafting your own frozen delights. This summer, elevate your dessert game and discover the unparalleled joy of Homemade Ice Cream. Forget the artificial flavors and preservatives; with a few simple ingredients and a little patience, you can create luscious, customizable ice cream right in your own kitchen.
From classic vanilla bean to inventive fruit swirls and decadent chocolate variations, making Homemade Ice Cream is a rewarding experience that promises delicious results. Whether you’re a seasoned dessert maker or a curious beginner, our comprehensive guide will walk you through everything you need to know. Get ready to impress your family and friends with scoops of pure bliss, perfectly tailored to your cravings. Let’s dive into the ultimate guide for the best Homemade Ice Cream Recipes You Must Try This Summer 2025!
Prep Time, Chill Time, Churn Time & Servings
Crafting the perfect scoop of homemade ice cream requires a bit of planning, but the active work is surprisingly minimal. The most significant part is allowing ample time for the base to chill and then for the ice cream to firm up in the freezer after churning. Don’t rush these steps – they are crucial for achieving that wonderfully smooth, creamy texture everyone loves.
- Active Prep Time: 25-30 minutes
- Base Chill Time: 2-4 hours (or preferably overnight for best results)
- Churning Time: 20-30 minutes (depending on your ice cream maker)
- Freezing/Firming Time: 4-6 hours (minimum)
- Yields: Approximately 1.5 quarts (about 6-8 servings)
The total time commitment ensures a superior product. The longer the base chills, the better the flavors meld, and the colder it gets, leading to quicker churning and smaller ice crystals for a creamier final texture. Plan ahead, and your patience will be richly rewarded with incredible homemade ice cream.
Ingredients for Classic Vanilla Bean Ice Cream
The beauty of homemade ice cream lies in its simplicity and the quality of its core ingredients. For a truly rich and decadent vanilla bean ice cream, we focus on dairy with high-fat content and genuine vanilla. This recipe forms the perfect foundation for countless variations, allowing you to experiment once you’ve mastered the classic.
- 2 cups (480ml) heavy cream (full-fat is essential for creaminess)
- 1 cup (240ml) whole milk
- ¾ cup (150g) granulated sugar, divided
- Pinch of salt (enhances flavor and balances sweetness)
- 1 vanilla bean, split lengthwise and scraped, or 2 teaspoons pure vanilla extract (Madagascar Bourbon is recommended for extract)
- 5 large egg yolks (for a rich, custard-style ice cream)
Using a vanilla bean will impart a deeper, more complex vanilla flavor and those beautiful speckled flecks. If using vanilla extract, make sure it’s high quality, as the flavor will be very prominent. The egg yolks are key to achieving a French-style custard base, giving the ice cream an incredibly smooth, rich mouthfeel and preventing iciness.
Step-by-step Instructions for Perfect Homemade Ice Cream
Making homemade ice cream is a process of cooking a custard base, chilling it thoroughly, and then churning. Follow these steps carefully to ensure a smooth, creamy, and delicious result every time. Attention to detail, especially in the chilling process, will make all the difference in the final texture of your homemade ice cream.
- Prepare an Ice Bath: Fill a large bowl with ice and a little water. Place a smaller, clean bowl (preferably metal or heatproof glass) over the ice bath. You will strain your cooked custard into this bowl to cool it quickly, stopping the cooking process.
- Infuse the Dairy: In a medium-sized heavy-bottomed saucepan, combine the heavy cream, whole milk, half of the granulated sugar (3/8 cup or 75g), and the pinch of salt. If using a vanilla bean, add both the scraped seeds and the pod to the mixture. Heat over medium heat, stirring occasionally, until the mixture is hot and steaming, but not boiling. Remove from heat immediately.
- Whisk the Egg Yolks: In a separate medium bowl, whisk the egg yolks with the remaining half of the granulated sugar (3/8 cup or 75g) until the mixture is pale yellow and slightly thickened. This takes about 2-3 minutes of vigorous whisking.
- Temper the Yolks: While continuously whisking the egg yolks, slowly ladle about one cup of the hot cream mixture into the yolks. This process, called tempering, gradually raises the temperature of the yolks without scrambling them. Once tempered, slowly pour the warm yolk mixture back into the saucepan with the remaining hot cream, whisking constantly.
- Cook the Custard: Return the saucepan to medium-low heat. Cook, stirring constantly with a wooden spoon or heatproof spatula, until the custard thickens enough to coat the back of the spoon (nappe) and leaves a clear path when you run your finger across it. This usually occurs when the mixture reaches 170-175°F (77-79°C) on an instant-read thermometer. Do not boil, or the custard will curdle.
- Strain and Chill the Base: Immediately remove the saucepan from the heat. Pour the hot custard through a fine-mesh sieve into the clean bowl set over the ice bath to catch any potential cooked egg bits and remove the vanilla bean pod. Stir occasionally until the mixture cools down to room temperature. Then, cover the bowl with plastic wrap, pressing it directly onto the surface of the custard to prevent a skin from forming. Refrigerate for at least 4 hours, or preferably overnight, until thoroughly chilled (40°F/4°C or colder). This thorough chilling is vital for the creamiest homemade ice cream. If using vanilla extract, stir it in now after chilling.
- Churn the Ice Cream: Once the base is completely chilled, transfer it to your ice cream maker. Churn according to the manufacturer’s instructions. This usually takes 20-30 minutes, during which the mixture will thicken to the consistency of soft-serve ice cream. The churning process introduces air and breaks up ice crystals, creating a smooth texture.
- “Ripen” the Ice Cream: Transfer the freshly churned soft-serve ice cream to a freezer-safe container. Press a piece of parchment paper or plastic wrap directly onto the surface to prevent ice crystals from forming. Cover tightly and freeze for another 4-6 hours, or until firm enough to scoop. This final freezing step is often called “ripening” and allows the flavors to deepen and the texture to firm up perfectly.
- Serve and Enjoy: When ready to serve your glorious homemade ice cream, let it sit out at room temperature for 5-10 minutes to soften slightly, making it easier to scoop. Enjoy plain or with your favorite toppings!
Tips & Variations for Your Homemade Ice Cream Adventures
Once you’ve mastered the classic vanilla, the world of homemade ice cream opens up to endless possibilities. Experimenting with different flavors, mix-ins, and even alternative methods can transform your dessert repertoire. These tips and variations will help you personalize your homemade ice cream creations and ensure consistently delicious results.
1. Master the No-Churn Method for Instant Gratification
Don’t have an ice cream maker? No problem! A fantastic alternative is the no-churn method, which still yields wonderfully creamy homemade ice cream. The key ingredients are often heavy cream and sweetened condensed milk. To make it:
- Whip 2 cups of very cold heavy cream until stiff peaks form.
- Gently fold in one 14-ounce can of sweetened condensed milk, along with your chosen flavorings (e.g., 2 teaspoons vanilla extract, cocoa powder, pureed fruit, or coffee).
- Pour the mixture into a freezer-safe container, cover, and freeze for at least 6 hours or overnight until firm. This method is incredibly easy and produces surprisingly good results, perfect for those last-minute cravings for homemade ice cream.
2. Elevate with Flavorful Infusions and Mix-ins
The vanilla base is a canvas for creativity. Consider these delicious additions:
- Chocolate Chip Cookie Dough: Fold in chunks of your favorite raw (egg-free) cookie dough during the last few minutes of churning.
- Fresh Fruit Swirl: Puree fresh berries, peaches, or mangoes and swirl them into the ice cream as you transfer it to the freezer container. A little lemon juice can brighten fruit flavors.
- Coffee or Espresso: Dissolve 1-2 tablespoons of instant espresso powder or strong coffee granules into the warm cream mixture in step 2 for a robust coffee ice cream.
- Nutty Crunch: Add toasted chopped nuts (pecans, walnuts, almonds) or crushed cookies (Oreos, graham crackers) at the end of churning for texture and flavor.
- Caramel or Chocolate Swirl: Gently ripple in homemade or store-bought caramel or chocolate sauce after churning.
- Boozy Bliss: A tablespoon or two of alcohol (like bourbon, rum, or a liqueur such as Kahlúa) added to the base can prevent iciness and add a sophisticated flavor. Add it just before churning.
3. Achieving the Perfect Texture: Troubleshooting Tips
Sometimes, homemade ice cream can be a little tricky. Here are some tips to ensure the creamiest texture:
- Chill Thoroughly: The colder your base is before churning, the faster it will freeze in the machine, resulting in smaller ice crystals and a smoother texture. Overnight chilling is always best.
- High-Fat Dairy: Don’t skimp on fat! Heavy cream and whole milk are essential for preventing iciness. Lower-fat alternatives often lead to a less creamy, icier product.
- Proper Freezing: After churning, the ice cream needs to harden in the freezer. Store it in an airtight container, and place plastic wrap directly on the surface to prevent air exposure, which causes ice crystals.
- Stabilizers (Optional): For an ultra-smooth, professional-grade texture, some recipes use a small amount of a stabilizer like cornstarch, tapioca starch, or even a tiny bit of gelatin. These help prevent ice crystal formation and provide a richer mouthfeel. Our egg yolk recipe naturally acts as a stabilizer.
With these tips, your homemade ice cream will always be a crowd-pleaser, showcasing your culinary prowess and passion for delicious desserts.
Nutrition Facts (Example Values per Serving)
While homemade ice cream is an indulgent treat, it’s good to have an idea of its nutritional content. These values are approximate and will vary based on exact ingredients, portion size, and any additions or variations you choose. This table provides example values for a typical serving of the classic vanilla bean ice cream recipe.
| Nutrient | Amount |
|---|---|
| Calories | 320 kcal |
| Total Fat | 24 g |
| Saturated Fat | 15 g |
| Cholesterol | 170 mg |
| Sodium | 60 mg |
| Total Carbohydrates | 28 g |
| Sugar | 27 g |
| Protein | 5 g |
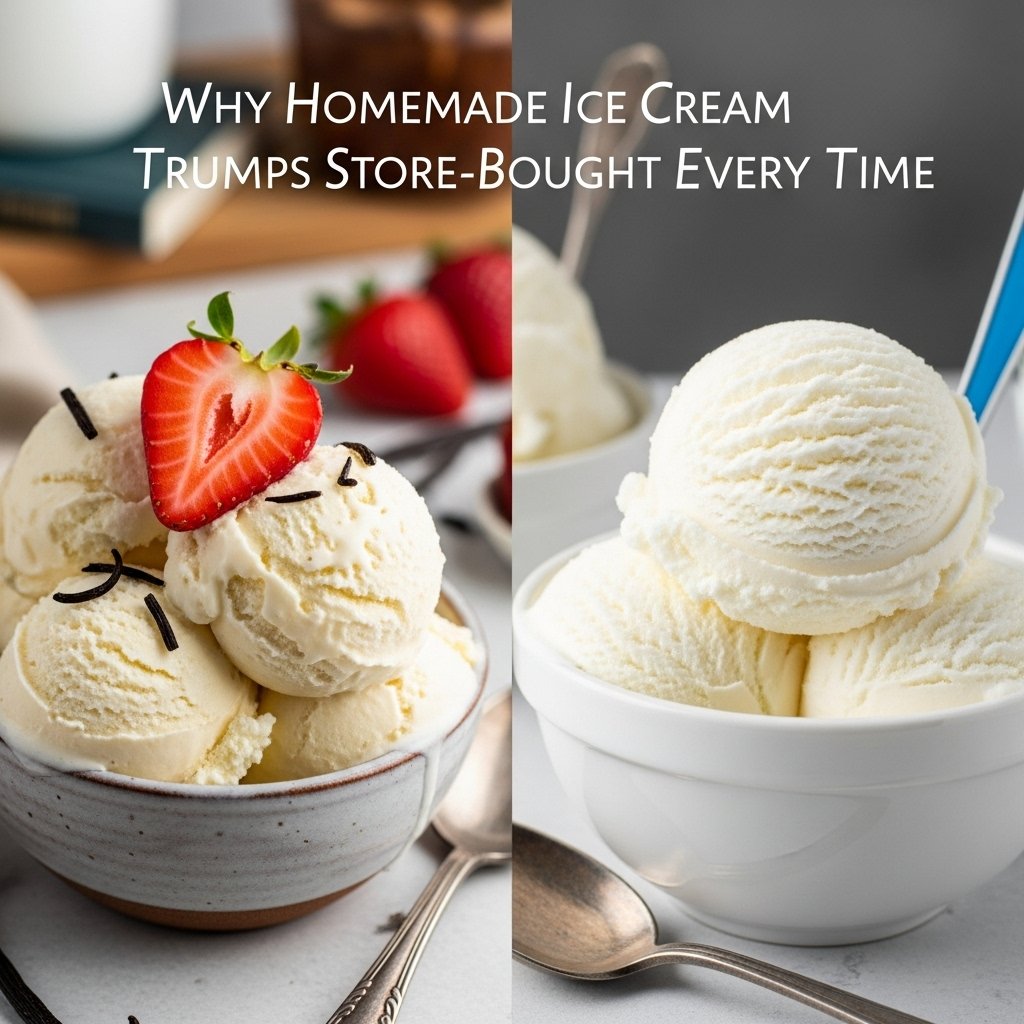
These values are based on a generous serving size (approximately ½ cup) and reflect the rich ingredients like heavy cream, whole milk, and egg yolks. Remember that homemade treats allow you to control the sugar content and choose high-quality ingredients, which is a major advantage over many store-bought varieties.
FAQ About Homemade Ice Cream
Making homemade ice cream can sometimes raise a few questions, especially for those new to the process. We’ve compiled answers to some of the most common inquiries to help you troubleshoot and achieve perfect results every time. Understanding the science behind great ice cream will make your homemade ice cream journey even more enjoyable.
What makes homemade ice cream icy, and how can I prevent it?
Icy homemade ice cream is a common complaint, primarily caused by large ice crystals forming. This often happens due to a few factors. Firstly, insufficient fat content in your base can lead to iciness, as fat interferes with crystal formation. Ensure you’re using heavy cream and whole milk, not lower-fat alternatives. Secondly, not chilling your base sufficiently before churning means the ice cream maker has to work harder and longer to freeze it, allowing more time for crystals to grow. Always chill your base for at least 4 hours, or ideally overnight, until it’s very cold. Lastly, improper storage can contribute to iciness. After churning, transfer your ice cream to an airtight, freezer-safe container and press plastic wrap directly onto the surface before sealing the lid. This minimizes air exposure, which is a major culprit for freezer burn and large ice crystals.
How long does homemade ice cream last, and what’s the best way to store it?
Homemade ice cream, without the stabilizers and preservatives found in commercial varieties, typically lasts about 1-2 weeks in the freezer for optimal quality. While it might still be safe to eat after this time, its texture and flavor can start to degrade, becoming icier or developing freezer burn. The best way to store it is in a shallow, airtight, freezer-safe container. The shallower the container, the quicker it freezes, which helps with texture. As mentioned above, always press a layer of plastic wrap or parchment paper directly onto the surface of the ice cream before putting the lid on. This creates a barrier against air, preventing ice crystal formation and freezer burn. Store it in the coldest part of your freezer, ideally towards the back, where temperatures are most consistent and less affected by the opening and closing of the door.
Do I absolutely need an ice cream maker to make homemade ice cream?
No, you don’t! While an ice cream maker certainly simplifies the process and generally produces the creamiest results for custard-based ice creams, you can still make delicious homemade ice cream without one using the “no-churn” method. This method typically relies on whipping heavy cream until stiff peaks form, then folding it together with sweetened condensed milk and your desired flavorings. The high fat content of the whipped cream and the sugar in the condensed milk help to create a smooth texture without churning. While the texture might be slightly different from a churned ice cream (often a bit denser or airier, depending on how much air is incorporated), it’s a fantastic and easy alternative for enjoying homemade ice cream, making it accessible to everyone regardless of equipment.
Can I make this recipe dairy-free or vegan?
Yes, you absolutely can adapt many homemade ice cream recipes to be dairy-free or vegan, though the texture and flavor will naturally differ from a traditional dairy-based custard. For a dairy-free version of this recipe, you would substitute the heavy cream with full-fat coconut cream (chilled well, using only the thick cream from the top of the can) and the whole milk with a rich plant-based milk like full-fat oat milk or almond milk. For egg yolks, you’d need to find an alternative binding and emulsifying agent, such as a combination of cornstarch slurry or a commercially available egg replacer. Alternatively, many excellent no-churn vegan ice cream recipes rely heavily on full-fat coconut milk/cream, which provides a rich base without the need for eggs. Explore recipes specifically designed for dairy-free or vegan homemade ice cream to ensure the best results with appropriate ingredient substitutions.
Why is my homemade ice cream too hard to scoop?
If your homemade ice cream is rock-hard straight from the freezer, it’s usually due to a low sugar content or too low fat content. Sugar acts as an antifreeze, lowering the freezing point of the mixture and keeping it softer and more scoopable. If you’ve reduced the sugar significantly, the ice cream will freeze harder. Similarly, if you’ve used lower-fat dairy products, the lack of fat can contribute to a harder texture. Ensure you’re following the recommended sugar and fat quantities in your recipe. Another factor can be too much churning; over-churning can lead to a dense, hard product. Lastly, your freezer might be set to an extremely low temperature. Try letting the ice cream sit on the counter for 5-10 minutes before scooping to allow it to soften slightly. If it’s consistently too hard, consider adding a tablespoon or two of a clear spirit (like vodka) to your base before churning, as alcohol also helps lower the freezing point and keep the ice cream softer.
References and Further Reading
For those eager to delve deeper into the art and science of homemade ice cream, these resources offer additional insights into techniques, food safety, and ingredient choices. Understanding the fundamentals can help you perfect your recipes and confidently experiment with new flavors and textures.
- Serious Eats – The Best Vanilla Ice Cream Recipe: A comprehensive guide to making custard-based ice cream.
- FoodSafety.gov – Egg Safety Tips: Important information on handling and cooking with eggs, especially for custards.
- The Spruce Eats – What Is Tempering Eggs?: Explains the essential technique for making smooth custards.
- DairyGood.org – Dairy Facts: Learn more about the nutritional benefits and different types of dairy products.
- King Arthur Baking – No-Churn Vanilla Ice Cream Recipe: A reliable recipe for making ice cream without a machine.
These resources provide valuable information whether you’re perfecting your classic vanilla or exploring new frontiers in homemade ice cream. Happy churning!
For more insights or collaboration opportunities, visit myrecipee.com.
“`


Leave a Reply