The Ultimate Strawberry Crunch Cake: A Perfect Homemade Treat
Estimated reading time: 8–10 minutes | Prep time: 55 minutes | Total time: 4 hours (includes cooling)
Key Takeaways
- Unforgettable Texture & Flavor: This recipe delivers a perfectly moist vanilla-strawberry cake, a rich and tangy cream cheese frosting, and an addictively crispy strawberry crunch topping for a dessert that hits every note.
- Beginner-Friendly, Impressive Results: Our detailed step-by-step instructions break down the process, making this stunning layered cake an achievable project for bakers of all skill levels.
- Perfect for Making Ahead: You can prepare the cake layers and the crunch topping a day or two in advance, making assembly quick and stress-free for any event.
- The Star of Any Occasion: This Strawberry Crunch Cake is a show-stopping centerpiece for birthdays, holidays, summer parties, or any celebration that calls for a truly special dessert.
Table of Contents
Why You’ll Love This Strawberry Crunch Cake Recipe
Get ready to fall in love with the ultimate homemade Strawberry Crunch Cake! This recipe is a delightful throwback to the classic strawberry shortcake ice cream bars, reimagined as a stunning layer cake. We’re talking incredibly soft and moist vanilla cake studded with fresh strawberries, enveloped in a luscious strawberry cream cheese frosting, and generously coated in a crispy, buttery, and utterly irresistible vanilla cookie and freeze-dried strawberry crunch. It’s a symphony of textures and flavors that is guaranteed to impress.
Unlike some overly complicated recipes, this from-scratch guide is designed to be straightforward and rewarding. We’ll walk you through creating the three key components—the tender cake, the crunchy topping, and the silky frosting—ensuring perfect results every time. This family-friendly dessert is perfect for any celebration, from birthdays to summer barbecues, or simply when you’re craving an extraordinary sweet treat. This isn’t just a cake; it’s an experience that will have everyone asking for the recipe.
Ingredients & Equipment You’ll Need
Using high-quality, room-temperature ingredients is the first step to achieving the perfect Strawberry Crunch Cake. Here’s exactly what you’ll need to gather.
For the Vanilla Strawberry Cake Layers:
- 2 1/2 cups (300g) all-purpose flour
- 2 1/2 teaspoons baking powder
- 1/2 teaspoon salt
- 1 cup (226g) unsalted butter, softened to room temperature
- 1 3/4 cups (350g) granulated sugar
- 4 large eggs, room temperature
- 1 tablespoon pure vanilla extract
- 1 cup (240ml) whole milk, room temperature
- 1/2 cup (75g) finely diced fresh strawberries
For the Strawberry Crunch Topping:
- 1 package (approx. 10.7 oz / 300g) Golden Oreo cookies or similar vanilla sandwich cookies
- 1 1/4 cups (35g) freeze-dried strawberries
- 6 tablespoons (85g) unsalted butter, melted
For the Strawberry Cream Cheese Frosting:
- 16 oz (452g) full-fat block cream cheese, softened
- 1 cup (226g) unsalted butter, softened
- 4 cups (480g) powdered sugar, sifted
- 1/3 cup (80ml) fresh strawberry puree (from about 1 cup fresh strawberries, blended and strained)
- 2 teaspoons pure vanilla extract
- Pinch of salt
Essential Equipment:
- Two 8-inch (20cm) round cake pans
- Parchment paper
- Electric stand mixer with paddle attachment, or a hand mixer
- Food processor
- Various mixing bowls (large, medium, small)
- Whisk, rubber spatula, and offset spatula for frosting
- Measuring cups and spoons
- Wire cooling rack
- Sieve or sifter
Step-by-Step Instructions
Follow these detailed steps to assemble your beautiful and delicious cake. We’ve broken it down into three manageable parts: making the crunch, baking the cake, and frosting for the grand finale!
Part 1: Making the Strawberry Crunch Topping
- Step 1: Prepare the Crunch Mix. Place the vanilla sandwich cookies and freeze-dried strawberries into the bowl of a food processor. Pulse several times until you have a coarse crumb mixture. You want some varied texture, so be careful not to create a fine powder.
- Step 2: Add Butter and Bake. Transfer the crumb mixture to a medium bowl. Pour the melted butter over the top and use a fork to toss everything together until the crumbs are evenly moistened. Spread the mixture in a single layer on a baking sheet lined with parchment paper. Bake at 350°F (175°C) for 8-10 minutes until it’s fragrant and lightly toasted. Let it cool completely on the pan; it will continue to crisp up as it cools.
Part 2: Baking the Cake Layers
- Step 3: Preheat and Prep Pans. Preheat your oven to 350°F (175°C). Grease and flour two 8-inch round cake pans. For easy cake removal, line the bottoms with circles of parchment paper, then grease the parchment as well.
- Step 4: Combine Dry Ingredients. In a medium bowl, whisk together the all-purpose flour, baking powder, and salt. Whisking for about 30 seconds ensures the leavening agents are evenly distributed, which is crucial for an even rise. Set aside.
- Step 5: Cream Butter and Sugar. In a large bowl using a stand mixer with the paddle attachment (or a hand mixer), beat the softened butter and granulated sugar on medium-high speed for 3-5 minutes. Scrape down the sides and bottom of the bowl occasionally. The mixture should become very light, pale, and fluffy. This step incorporates air, which creates a tender cake.
- Step 6: Add Eggs and Vanilla. Add the room temperature eggs one at a time, beating well for about 30 seconds after each addition until fully incorporated. After the last egg is mixed in, beat in the pure vanilla extract.
- Step 7: Alternate Dry and Wet Ingredients. With the mixer on low speed, add the dry ingredients in three additions, alternating with the milk in two additions. Always begin and end with the dry ingredients (one-third flour, half milk, one-third flour, half milk, final one-third flour). Mix only until the last streaks of flour disappear. Do not overmix!
- Step 8: Fold in Strawberries and Bake. Gently fold the finely diced fresh strawberries into the batter using a rubber spatula. Divide the batter evenly between your two prepared cake pans and smooth the tops. Bake for 30-35 minutes, or until a wooden skewer inserted into the center comes out clean or with a few moist crumbs attached.
- Step 9: Cool the Cakes. Let the cakes cool in their pans on a wire rack for 15 minutes. Then, carefully run a knife around the edges and invert the cakes onto the wire rack. Peel off the parchment paper and allow them to cool completely to room temperature before attempting to frost.
Part 3: Making the Frosting & Assembling Your Strawberry Crunch Cake
- Step 10: Prepare the Frosting. In a large bowl, beat the softened cream cheese and softened butter together with an electric mixer on medium-high speed until completely smooth and creamy. Gradually add the sifted powdered sugar, one cup at a time, mixing on low speed until combined, then increasing to high speed. Finally, beat in the strained strawberry puree, vanilla extract, and salt until everything is light, fluffy, and uniform in color. If the frosting feels too soft, chill it for 20-30 minutes before using.
- Step 11: Assemble the First Layer. Place one cooled cake layer on your serving plate or cake stand. Spread about 1 cup of the strawberry cream cheese frosting evenly over the top. Sprinkle a generous, thick layer of the cooled strawberry crunch mixture over the frosting, gently pressing it down. Reserve about half of the crunch for the final decoration.
- Step 12: Add the Top Layer and Crumb Coat. Carefully place the second cake layer on top. Apply a very thin layer of frosting all over the top and sides of the cake. This is called a “crumb coat” and it traps any loose crumbs, ensuring a clean final layer. Chill the cake in the refrigerator for at least 30 minutes to set this crumb coat.
- Step 13: Final Frosting and Decoration. After chilling, apply the remaining frosting evenly over the top and sides of the cake with an offset spatula for a smooth finish. Immediately press the reserved strawberry crunch topping all over the sides and around the top edge of the cake. For an extra polished look, you can pipe a decorative border on top. Chill the finished cake for at least 1 hour before serving to allow the frosting to set firmly.
Baking Tips, Variations & Substitutions
Pro Tips for Perfect Results
- Room Temperature is Key: This is non-negotiable for a smooth batter and creamy frosting. Cold ingredients don’t emulsify properly. Set your butter, eggs, milk, and cream cheese out on the counter at least 1-2 hours before you begin.
- Don’t Overmix the Batter: Once you start adding the flour, mix on the lowest speed and only until the ingredients are just combined. Overmixing develops gluten, which leads to a tough, dense cake instead of a light and tender one.
- Freeze-Dried Strawberries are a Must: Do not substitute fresh or frozen strawberries in the crunch topping. They contain too much water and will make the crunch topping soggy. Freeze-dried berries provide that signature intense strawberry flavor and essential crispy texture.
- Strain Your Strawberry Puree: For the smoothest, seedless, and most professional-looking frosting, push your blended strawberry puree through a fine-mesh sieve before adding it to the cream cheese mixture. It’s an extra step that makes a huge difference.
Easy Variations You Can Try
- Lemon Twist: Add the zest of one lemon to the cake batter along with the vanilla extract for a bright, zesty flavor that pairs beautifully with strawberry.
- Different Crunch: While Golden Oreos are classic, you could also use shortbread cookies or Nilla wafers as the base for your crunch topping.
- Make it Gluten-Free: Substitute the all-purpose flour with a high-quality, 1-to-1 gluten-free baking flour blend that contains xanthan gum. Use certified gluten-free vanilla sandwich cookies for the crunch topping.
How to Serve & Store Your Strawberry Crunch Cake
This Strawberry Crunch Cake is best served chilled, as the cream cheese frosting is soft at room temperature. For the cleanest slices, use a long, sharp knife, and wipe it clean with a damp cloth between each cut. Garnish with a few fresh strawberries right before serving for a beautiful presentation.
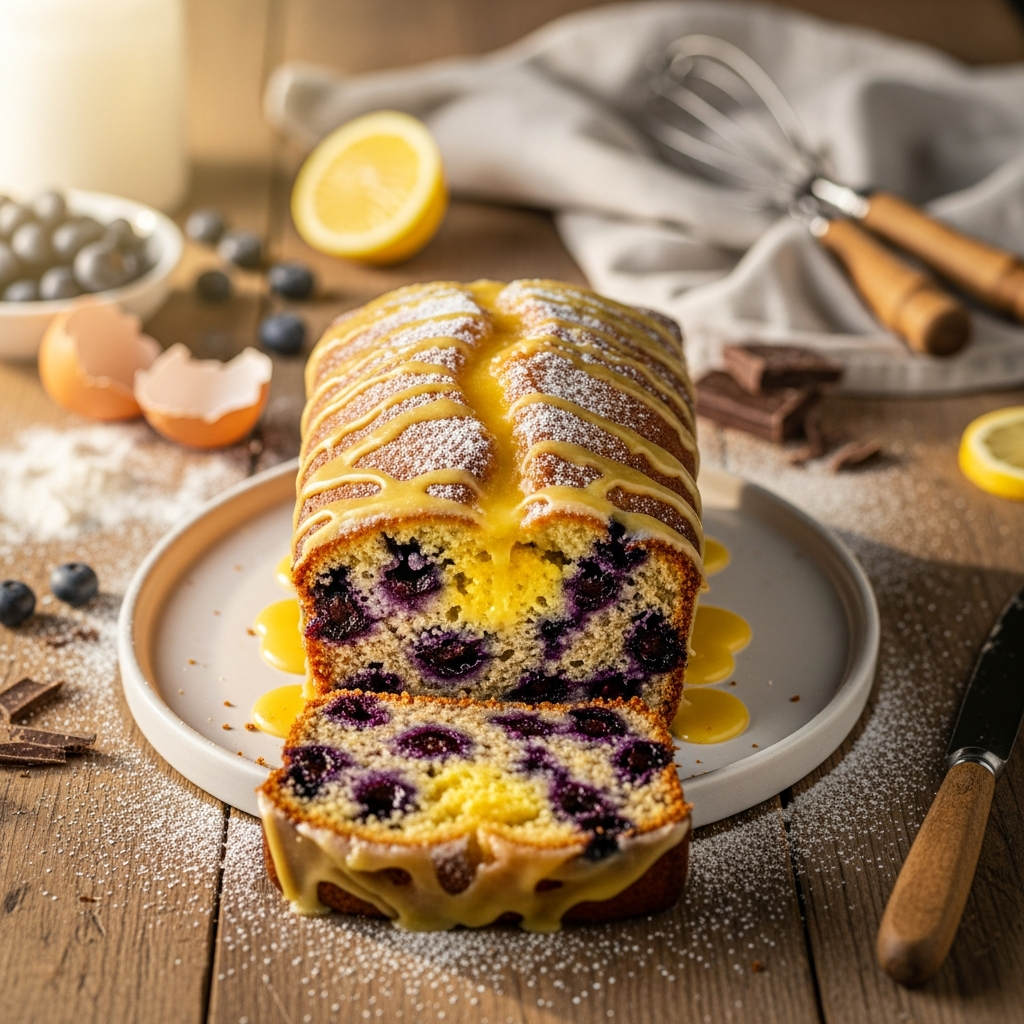
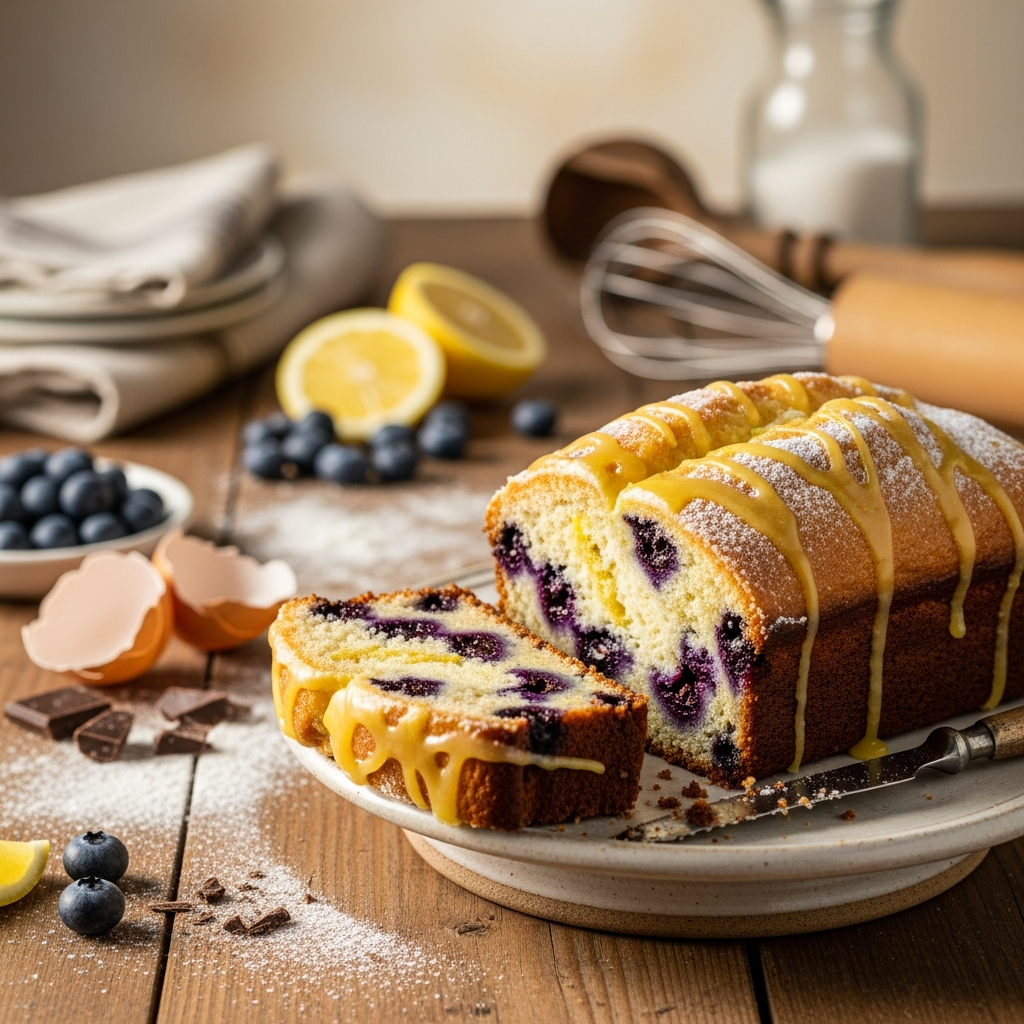
To store, cover the cake tightly or place it in a cake carrier. It must be kept in the refrigerator due to the cream cheese frosting. It will stay fresh and delicious for up to 4 days. Please note that the crunch topping may soften slightly over time in the fridge, but it will still be delightful. For another fruity favorite, try our top-rated Lemon Blueberry Muffins next!
Watch: How to Make It

Frequently Asked Questions
Can I freeze this Strawberry Crunch Cake?
Answer: Yes, you can. For best results, freeze the individual, unfrosted cake layers wrapped tightly in plastic wrap and then foil for up to 2 months. Thaw them at room temperature before frosting. You can also freeze the finished cake, but the texture of the crunch topping may be slightly compromised upon thawing.
Can I reduce the sugar in this recipe?
Answer: You can reduce the granulated sugar in the cake batter by up to 1/4 cup (50g), but be aware this will affect more than just sweetness; it may result in a slightly drier, less tender cake. We do not recommend reducing the powdered sugar in the frosting, as it is essential for stability and will make the frosting too soft and runny.
Can I use fresh strawberries for the crunch topping?
Answer: No, this is strongly discouraged. Fresh or frozen strawberries have a high water content that will turn the cookie crumbs into a soggy paste instead of a crispy crunch. Freeze-dried strawberries are absolutely essential for achieving the signature texture and intense flavor of the crunch.
Can I make this cake gluten-free?
Answer: Yes, this recipe adapts well to be gluten-free. Simply substitute the all-purpose flour with a high-quality, 1-to-1 gluten-free baking flour blend that contains xanthan gum. You must also ensure your vanilla sandwich cookies are certified gluten-free. The results should be very similar to the original.