
The Ultimate Strawberry Shortcake Layer Cake Recipe
Estimated reading time: 8 minutes | Prep time: 45 minutes | Total time: 3 hours 30 minutes
Key Takeaways
- Unbelievably Moist & Tender: This recipe uses sour cream and whole milk to guarantee the most tender, soft vanilla cake layers you’ve ever had.
- Fresh & Juicy Flavor: A simple macerated strawberry filling provides a bright, fresh, and perfectly sweet contrast to the rich cake.
- Perfectly Stable Frosting: By adding cold mascarpone cheese to the whipped cream, you get a light, airy frosting that is stable enough to hold its shape for days in the fridge.
- Make-Ahead Friendly: The cake layers can be baked and frozen weeks in advance, making assembly a breeze for your special occasion.
- The Perfect Celebration Dessert: This stunning homemade cake is ideal for birthdays, summer parties, holidays, or any event that calls for a truly show-stopping dessert.
Table of Contents
Why You’ll Love This Strawberry Shortcake Layer Cake Recipe
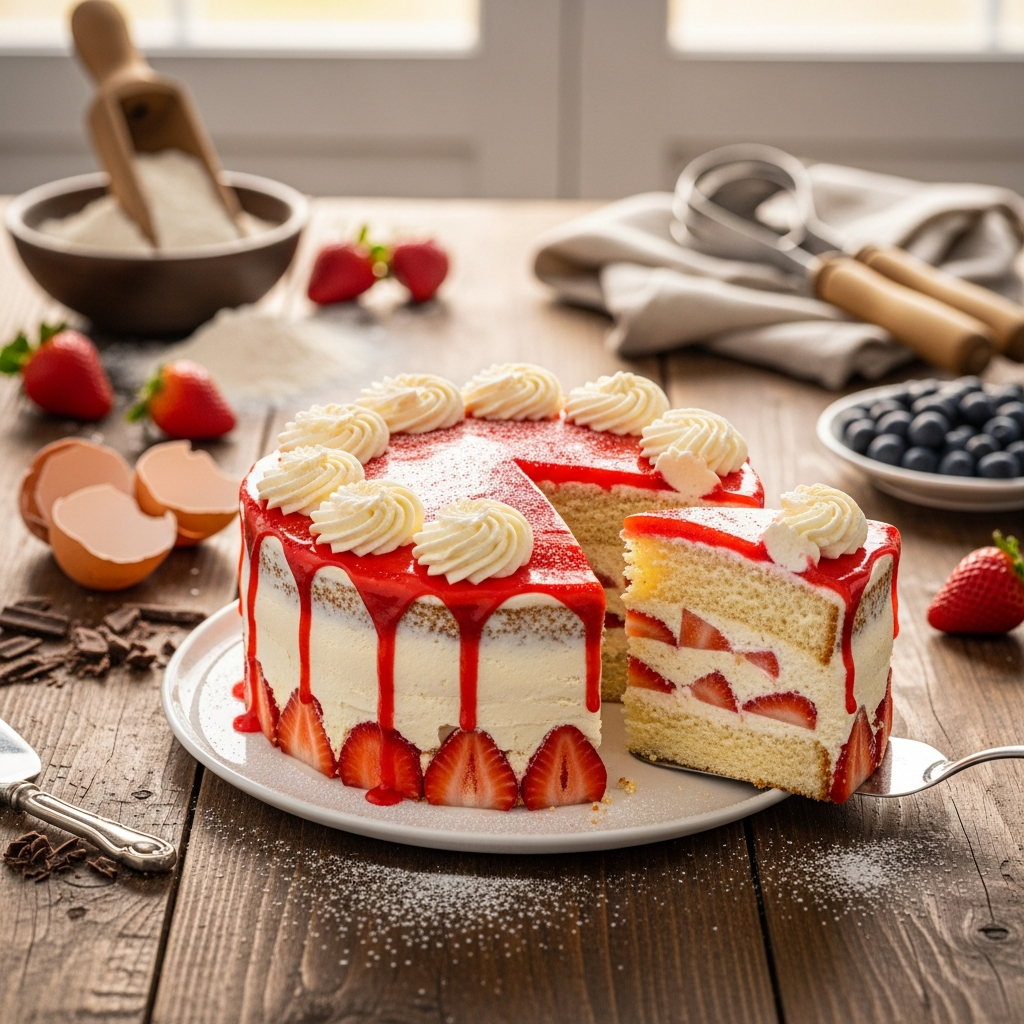
Welcome to the only recipe you’ll ever need for a truly spectacular Strawberry Shortcake Layer Cake. This isn’t your average dessert; it’s a masterpiece of textures and flavors, combining incredibly moist and tender vanilla cake layers with a bright, juicy fresh strawberry filling and a cloud-like stabilized whipped cream frosting. Each bite is a perfect harmony of rich, buttery cake, sweet berries, and light, airy cream. It’s a classic dessert elevated to a show-stopping centerpiece.
What makes this homemade recipe special is its reliability and perfect texture. We use a combination of butter, whole milk, and sour cream to create a cake crumb that is unbelievably soft yet sturdy enough to support the layers of fruit and cream. The stabilized whipped cream, fortified with mascarpone cheese, ensures your beautiful creation won’t weep or collapse, even after a day or two in the fridge. This simple recipe is designed to deliver professional results from your home kitchen.
Whether you’re celebrating a birthday, hosting a summer barbecue, or looking for a memorable dessert for Mother’s Day, this Strawberry Shortcake Layer Cake is guaranteed to impress. It’s a family-friendly dessert that feels both nostalgic and wonderfully elegant. Let’s bake this incredible cake from scratch!
Ingredients & Equipment You’ll Need
Using high-quality, room-temperature ingredients is the first step to achieving the perfect Strawberry Shortcake Layer Cake. A kitchen scale is highly recommended for accuracy, especially for the flour.
For the Moist Vanilla Cake Layers
- All-Purpose Flour: 3 cups (360g)
- Baking Powder: 1 tbsp
- Salt: 1/2 tsp
- Unsalted Butter: 1 cup (226g), softened to room temperature
- Granulated Sugar: 1 3/4 cups (350g)
- Large Eggs: 4, at room temperature
- Vanilla Extract: 1 tbsp
- Whole Milk: 1 cup (240ml), at room temperature
- Sour Cream: 1/2 cup (120g), at room temperature
For the Fresh Strawberry Filling
- Fresh Strawberries: 2 lbs (about 900g), hulled and sliced
- Granulated Sugar: 1/4 cup (50g)
- Lemon Juice: 1 tbsp, fresh
For the Stabilized Whipped Cream Frosting
- Heavy Whipping Cream: 3 cups (720ml), very cold
- Mascarpone Cheese: 1 cup (225g), cold
- Powdered Sugar: 1 1/4 cups (150g), sifted
- Vanilla Extract: 2 tsp
Essential Equipment
- Three 8-inch (20cm) round cake pans
- Parchment paper
- Stand mixer with paddle and whisk attachments (or an electric hand mixer)
- Large, medium, and small mixing bowls
- Whisk & Silicone spatula
- Kitchen scale for accurate measurements
- Measuring cups and spoons
- Wire cooling rack
- Offset spatula for smooth frosting
- Cake turntable (optional, but highly recommended)
Step-by-Step Instructions
Follow these detailed steps carefully to build your beautiful and delicious cake from scratch. The process is broken down into preparing the components and final assembly.
Part 1: Preparing the Cake Batter
- Prepare Pans and Oven: Preheat your oven to 350°F (175°C). Grease and flour three 8-inch round cake pans. For easy cake removal, line the bottom of each pan with a circle of parchment paper.
- Make the Strawberry Filling: In a medium bowl, gently combine the sliced strawberries, 1/4 cup of granulated sugar, and lemon juice. Set aside at room temperature for at least 30 minutes to an hour. This process, called macerating, draws out the natural juices to create a delicious syrup.
- Mix Dry Ingredients: In a large bowl, whisk together the all-purpose flour, baking powder, and salt for at least 30 seconds. This ensures the leavening agents are evenly distributed, which is key for a consistent rise. Set aside.
- Cream Butter and Sugar: In the bowl of a stand mixer with a paddle attachment, beat the room-temperature butter on medium-high speed for 2 minutes until smooth and pale. Gradually add the 1 3/4 cups of granulated sugar and continue beating for another 3-4 minutes, scraping down the sides of the bowl, until the mixture is light, pale, and fluffy.
- Add Eggs and Vanilla: With the mixer on medium-low, add the room-temperature eggs one at a time, allowing each to fully incorporate before adding the next. Scrape down the bowl as needed. Mix in the vanilla extract.
- Combine Wet and Dry Mixtures: In a separate small bowl, stir together the room-temperature milk and sour cream. Reduce the mixer speed to low. Add one-third of the dry ingredient mixture, then half of the milk mixture. Repeat, ending with the final third of the dry ingredients. Mix only until the flour streaks disappear. Do not overmix.
Part 2: Baking and Cooling
- Bake the Layers: Divide the batter evenly among the three prepared cake pans and smooth the tops with an offset spatula. Bake for 28-32 minutes, or until a wooden skewer inserted into the center comes out clean or with a few moist crumbs attached.
- Cool the Cakes: Let the cake layers cool in their pans on a wire rack for 15 minutes. Then, carefully run a thin knife around the edges and invert the cakes onto the rack. Peel off the parchment paper and allow them to cool completely to room temperature before frosting.
Part 3: Frosting and Assembly of Your Strawberry Shortcake Layer Cake
- Make the Whipped Cream Frosting: In the cold bowl of a stand mixer with the whisk attachment, combine the cold heavy cream, cold mascarpone cheese, sifted powdered sugar, and vanilla. Mix on low, then gradually increase to medium-high. Whip for 3-5 minutes until stiff, billowy peaks form. Do not overwhip, or it will become grainy.
- Assemble the First Layer: Place one cooled cake layer on your serving plate. Spread a generous layer of whipped cream frosting over the top. Using a slotted spoon, arrange about one-third of the macerated strawberries over the cream, leaving a small border around the edge to prevent leakage.
- Build and Crumb Coat: Gently place the second cake layer on top and repeat with another layer of cream and strawberries. Add the third cake layer. Apply a thin layer of frosting over the top and sides of the entire cake to create a “crumb coat.” This traps any loose crumbs. Refrigerate the cake for 30 minutes to set.
- Final Decoration: Once the crumb coat is firm, apply the remaining whipped cream frosting over the entire cake, using an offset spatula to create smooth sides or decorative swirls. Garnish the top with the last of the strawberries and drizzle with some of their reserved juice. Chill the assembled cake for at least 1-2 hours before serving to allow it to set.
Baking Tips, Variations & Substitutions
Pro Tips for Perfect Results
- Room Temperature is Key: For the cake batter, ensuring your butter, eggs, milk, and sour cream are at room temperature is non-negotiable. This allows the ingredients to emulsify, creating a smooth batter and a fine, tender crumb.
- Don’t Overmix the Batter: Once you start adding the flour, mix on the lowest speed and only until the flour streaks disappear. Overmixing develops gluten, leading to a tough, dense cake.
- Cold is Crucial for Frosting: The secret to fluffy, stable whipped cream is temperature. Use very cold heavy cream and mascarpone. For best results, chill your mixing bowl and whisk attachment in the freezer for 20 minutes beforehand.
- Strain Your Strawberries: When layering the macerated strawberries, use a slotted spoon to prevent excess juice from making the cake soggy. Save the delicious syrup to drizzle over each slice when serving!
Easy Variations You Can Try
- Lemon Zest: Add the zest of one lemon to the butter and sugar mixture for an extra bright, citrusy note in the cake layers.
- Mixed Berry Filling: Swap out half the strawberries for fresh raspberries or blueberries for a mixed berry version.
- Vanilla Bean Frosting: Scrape the seeds from one vanilla bean pod into the frosting mixture along with the vanilla extract for a more intense, gourmet vanilla flavor.
- Gluten-Free Option: For a gluten-free version, you can substitute the all-purpose flour with a high-quality 1-to-1 gluten-free baking flour blend that contains xanthan gum.
How to Serve & Store Your Strawberry Shortcake Layer Cake
This Strawberry Shortcake Layer Cake is best served chilled. The cold temperature keeps the whipped cream frosting firm and makes for clean, beautiful slices. For an elegant presentation, garnish each slice with a fresh mint sprig and a drizzle of the reserved strawberry syrup.
Due to the fresh dairy and fruit, this cake must be stored in the refrigerator. Place it in a cake carrier or cover it loosely with plastic wrap (use toothpicks to prevent it from touching the frosting). It will stay fresh and delicious for up to 3 days. The cake’s flavor and texture are often even better on the second day as the layers absorb some moisture from the filling.
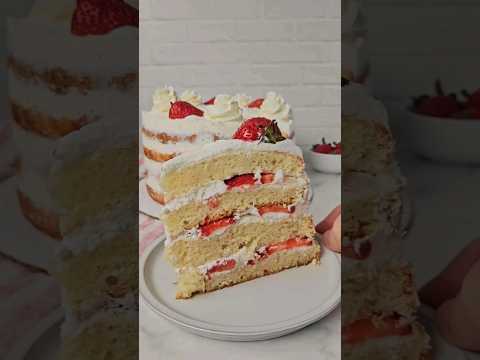
Watch: How to Make It

Frequently Asked Questions
Can I freeze this Strawberry Shortcake Layer Cake?
It’s not recommended to freeze the fully assembled cake. The whipped cream frosting and fresh strawberries do not hold up well to freezing and will become watery upon thawing. However, the unfrosted vanilla cake layers freeze beautifully! Bake as directed, cool completely, then wrap each layer tightly in two layers of plastic wrap and one layer of aluminum foil. They can be frozen for up to 2 months. Thaw at room temperature before assembling.
Can I make this cake ahead of time?
Yes, you can prepare the components in advance. The cake layers can be baked, cooled, and stored in an airtight container at room temperature for up to 2 days. The strawberry filling can be made a day ahead and refrigerated. For the best texture, prepare the whipped cream frosting and assemble the cake on the day you plan to serve it.
Can I reduce the sugar in this recipe?
You can slightly reduce the sugar in the strawberry filling if your berries are particularly sweet. However, reducing sugar in the cake batter is not recommended as sugar provides crucial moisture and structure. Likewise, the powdered sugar in the frosting helps stabilize it, so reducing it significantly may result in a softer, less stable frosting.
Why did my whipped cream frosting get runny or grainy?
A runny frosting is almost always due to ingredients not being cold enough. Ensure your cream, mascarpone, bowl, and whisk are all very cold. A grainy or curdled texture is a sign of overwhipping, which essentially begins turning the cream into butter. Whip only until firm, stiff peaks form, and stop immediately if it starts to look separated.