1 Ultimate Fudgy Chocolate Brownie Recipe
Prep: 20 min | Bake: 45 min | Total: 1 hr 5 min
Recipe Highlights:
- The Secret Ingredient: Liquid glucose prevents sugar crystallization, ensuring an incredibly dense, bendable, fudgy center.
- Tested 12 Times: We systematically adjusted fat, flour, and sugar ratios over twelve distinct batches to isolate the perfect texture.
- Paper-Thin Crinkle Top: Learn the exact science of dissolving sugar in egg proteins to achieve that coveted shiny, meringue-like crust.
- Deep Chocolate Profile: A precise combination of Dutch-process cocoa powder and melted 70% dark chocolate blocks.
Table of Contents
- Why This Fudgy Chocolate Brownie Recipe Actually Works
- Ingredients
- Pro-Level Equipment
- How to Make Fudgy Chocolate Brownie Recipe — Step by Step
- Masterclass Tips for Perfect Fudgy Chocolate Brownie Recipe
- Variations and Flavor Twists
- Serving and Storage
- Watch the Baking Tutorial
- Frequently Asked Questions About Fudgy Chocolate Brownie Recipe
Why This Fudgy Chocolate Brownie Recipe Actually Works
Fudgy Chocolate Brownie Recipe perfection isn’t born; it is forged in the fires of obsessive kitchen testing. If you are tired of brownies that turn out cakey, dry, or greasy, I feel your pain. I spent weeks in my kitchen baking batch after batch, tweaking single variables one by one. Batch one was too dry. Batch four was greasy because the butter separated. Batch six had a dull, matte top. But batch twelve? Absolute magic. That is the formula you are holding today.
The secret to this recipe lies in understanding baking science. Most recipes rely solely on butter and sugar to create moisture, but sugar naturally wants to recrystallize as it bakes and cools. This crystallization creates a grainier, more cake-like structure. By introducing a tiny amount of liquid glucose (or light corn syrup), we physically block those sugar crystals from binding together. The result is an ultra-fudgy, dense, almost bendable center that mimics the texture of high-end chocolate ganache. It is a technique I used for years in professional pastry kitchens, and it translates beautifully to home baking.
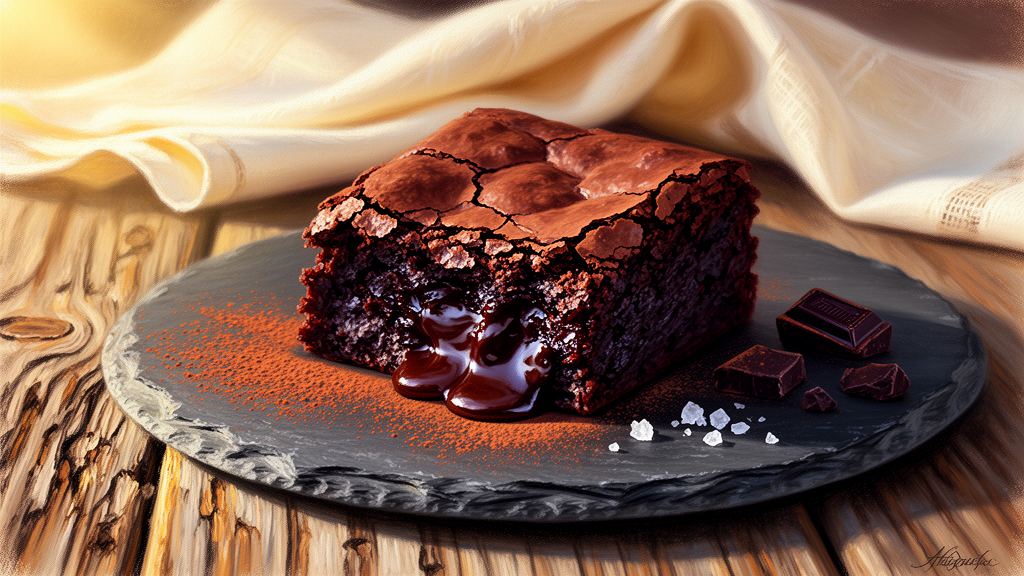
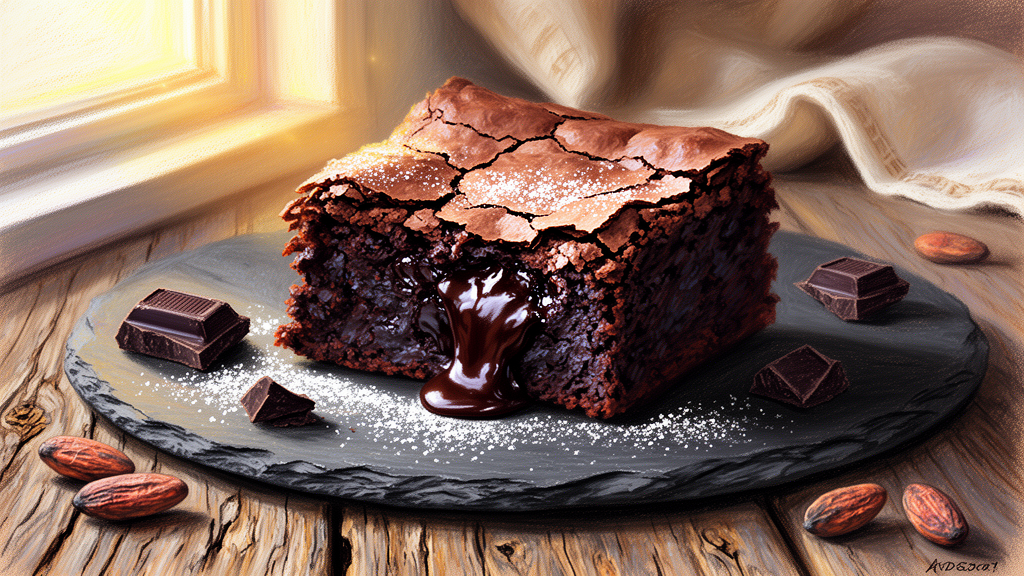
When you pull these brownies out of the oven, your kitchen will fill with the intoxicating aroma of browned butter, toasted cocoa, and caramelized sugar. The texture is a study in contrasts: a paper-thin, shiny, crinkly top crust that shatters under your fork, giving way to a rich, heavy, decadent center. If you love exploring the science of baking, you will also love browsing our collection of decadent homemade desserts for more kitchen-tested inspiration.

Ingredients
To achieve a world-class result, every ingredient must be selected with intention. Do not substitute these ingredients if you want to replicate the exact texture of batch twelve.
- Unsalted Butter: 1 cup / 8 oz (225g) — Melted and cooled slightly. We use unsalted butter so we can precisely control the sodium levels.
- 70% Dark Chocolate: 8 oz (225g) — Coarsely chopped. Use a high-quality baking bar, not chocolate chips. Chocolate chips contain stabilizers that prevent them from melting smoothly, which will ruin the texture of your batter.
- Dutch-Process Cocoa Powder: 1/2 cup (50g) — Sifted. Dutch-process cocoa has been treated with alkali to reduce its natural acidity, resulting in a darker color and a smoother, deeper chocolate flavor.
- Granulated White Sugar: 1 cup (200g) — Essential for creating the shiny, crinkled top crust.
- Light Brown Sugar: 1 cup (200g) — Packed. The molasses in brown sugar adds moisture and a subtle caramel undertone.
- Liquid Glucose (or Light Corn Syrup): 2 tbsp (40g) — Our secret weapon. This prevents sugar crystallization and locks in the ultimate fudgy chew.
- Large Eggs: 4 count (approx. 200g out of shell) — Room temperature. Cold eggs will seize the melted chocolate and butter mixture.
- Pure Vanilla Extract: 2 tsp — To round out and highlight the chocolate notes.
- Fine Sea Salt: 1 tsp — Do not skip this. Salt cuts through the intense sweetness and balances the fat.
- All-Purpose Flour: 3/4 cup (95g) — Sifted. We use a relatively small amount of flour to keep the gluten structure minimal, ensuring the brownies remain dense and fudgy rather than cakey.
Pro-Level Equipment
Baking is an exact science, and having the right tools is just as important as having the right ingredients. Here is the equipment I use to guarantee success every single time:
- An 8×8-inch Metal Baking Pan: Avoid glass or ceramic pans at all costs. Glass conducts heat slowly and unevenly, which leads to overbaked, dry edges and an underbaked, raw center. A light-colored metal pan ensures even heat distribution. For a deep dive into how different materials affect your bakes, check out the essential baking pans and equipment guide on Serious Eats.
- A Digital Kitchen Scale: Measuring flour and cocoa powder by volume (cups) is highly inaccurate. A cup of flour can vary by up to 50% depending on how packed it is. To ensure your ratios are perfect, weigh your ingredients. You can refer to the ingredient weight chart on King Arthur Baking to see how much volume measurements can vary.
- Parchment Paper: Used to create a “sling” so you can easily lift the baked brownies out of the pan without breaking them.
- A Large Balloon Whisk: Essential for whipping the eggs and sugar to the correct stage to create the shiny top crust.
- A Silicone Spatula: For folding the dry ingredients gently without overworking the gluten.
How to Make Fudgy Chocolate Brownie Recipe — Step by Step
Follow these steps precisely. Pay close attention to the visual and sensory cues described in each step—they are far more important than the timer on your oven.
- Step 1: Prep and Preheat. Adjust your oven rack to the middle position and preheat the oven to 325°F (163°C). Line your 8×8-inch metal baking pan with two sheets of parchment paper, crossing them to create a sling that hangs over all four sides. Lightly grease the parchment with a tiny bit of butter or cooking spray.
- Step 2: Melt the Chocolate and Butter. Set a heatproof bowl over a saucepan of gently simmering water (a double boiler), ensuring the bottom of the bowl does not touch the water. Add the chopped 70% dark chocolate and the unsalted butter. Stir occasionally with your silicone spatula until completely melted and smooth. Remove the bowl from the heat and let it cool slightly so it is warm to the touch, but not hot.
- Step 3: Sift the Dry Ingredients. In a medium bowl, whisk together the sifted all-purpose flour, sifted Dutch-process cocoa powder, and fine sea salt. Sifting is non-negotiable here; cocoa powder is notorious for forming stubborn clumps that will not dissolve in the batter.
- Step 4: Whip the Eggs and Sugars (The Ribbon Stage). In a large mixing bowl, combine the room-temperature eggs, granulated white sugar, light brown sugar, liquid glucose, and vanilla extract. Using a large balloon whisk or a hand mixer fitted with the whisk attachment, beat the mixture vigorously for 3 to 4 minutes. The mixture will pale significantly, thicken, and double in volume. When you lift the whisk, the batter should fall back into the bowl in thick ribbons that hold their shape on the surface for 3 seconds before disappearing. This step is what dissolves the sugar and creates the shiny, crinkly top crust.
- Step 5: Combine Wet Phases. Slowly pour the warm melted chocolate and butter mixture into the whipped egg and sugar mixture, whisking constantly but gently until fully incorporated. The batter should look glossy, thick, and incredibly rich.
- Step 6: Fold in the Dry Ingredients. Add the sifted dry ingredients to the wet mixture. Switch to your silicone spatula. Fold the ingredients together gently, using a figure-eight motion. Stop folding the very second you see no more pockets of dry flour. Overmixing at this stage will develop gluten, turning your fudgy masterpiece into a tough, bready cake.
- Step 7: Bake to Perfection. Pour the thick batter into your prepared pan, smoothing the top with your spatula. Bake for 40 to 45 minutes. At the 40-minute mark, check the brownies. The edges should be set and slightly puffed, but the center should still have a very slight, lazy jiggle when you gently shake the pan. A toothpick inserted into the center should come out with a few moist, sticky crumbs attached—not wet batter, and definitely not clean. If the toothpick is clean, they are overbaked.

Masterclass Tips for Perfect Fudgy Chocolate Brownie Recipe
To truly master this Fudgy Chocolate Brownie Recipe, you need to understand the physical and chemical reactions happening inside your oven. Here are three advanced tips to ensure you achieve bakery-quality results:
- The Ice Bath Shock: This is a professional pastry chef secret. As soon as you pull the brownies out of the oven, carefully submerge the bottom of the baking pan into a shallow sink or large tray filled with ice water (be careful not to let any water splash onto the brownies). This sudden drop in temperature instantly stops the baking process, locking in that ultra-fudgy, dense texture and preventing the residual heat from drying out the center.
- The Overnight Cure: I know it is incredibly difficult to resist eating a warm brownie, but their texture improves dramatically after a rest. Let the brownies cool completely to room temperature in the pan, then wrap the pan tightly in plastic wrap and place it in the refrigerator overnight. The fats will solidify, the moisture will distribute evenly, and the chocolate flavors will mature. The next day, you will have a brownie that is incredibly dense, chewy, and cuts like clean glass. For more advanced techniques like this, explore our essential baking tips and techniques.
- The Hot Knife Cutting Method: To get those perfect, sharp, bakery-style squares, do not use a dull knife on room-temperature brownies. Use a large, sharp chef’s knife. Run the blade under hot tap water for 10 seconds, wipe it completely dry with a clean towel, and make one swift, clean slice. Wipe the blade clean of any crumbs, reheat the blade, and repeat for every single cut.
Variations and Flavor Twists
Once you have mastered the base recipe, you can use it as a canvas for your own culinary creativity. Here are four tested variations that work beautifully with this formula:
| Variation | Ingredients to Add | Method |
|---|---|---|
| Miso Caramel Swirl | 1/4 cup caramel sauce + 1 tsp white miso paste | Whisk the miso into the caramel. Dollop over the brownie batter in the pan and swirl with a butter knife before baking. |
| Espresso & Rye | 1 tbsp instant espresso powder + swap 20g flour for dark rye flour | Whisk espresso powder into the melted chocolate. Replace 20g of the AP flour with dark rye flour for a nutty, complex depth. |
| Tahini & Halva | 1/3 cup creamy tahini + 1/4 cup crumbled halva | Drizzle tahini over the batter and scatter halva pieces on top. Swirl gently before placing in the oven. |
| Triple Chocolate Chunk | 1/2 cup milk chocolate chunks + 1/2 cup white chocolate chunks | Gently fold the chocolate chunks into the batter along with the dry ingredients to create pockets of melted chocolate. |
Serving and Storage
These brownies are incredibly rich, so a little goes a long way. Serve them at room temperature for a soft, fudgy bite, or slightly chilled from the fridge for a texture that resembles dense fudge. If you want to go all out, serve a warm brownie square topped with a scoop of high-quality vanilla bean ice cream—the contrast of hot and cold is spectacular.
To store, place the cut brownie squares in an airtight container with sheets of parchment paper separating the layers to prevent sticking. They will keep beautifully at room temperature for up to 4 days, or in the refrigerator for up to 1 week.
If you want to freeze them, wrap individual squares tightly in plastic wrap, then place them in a heavy-duty freezer bag. They can be frozen for up to 3 months. To serve from the freezer, let them thaw at room temperature for 1 hour, or pop a single square in the microwave for 10 to 15 seconds to restore that warm, gooey, fresh-baked texture. They also make incredible gifts; pack them in a beautiful tin lined with parchment paper for a homemade present that beats any bakery box.
Watch the Baking Tutorial
Frequently Asked Questions About Fudgy Chocolate Brownie Recipe
- Q: Why are my brownies cakey instead of fudgy?
A: Cakey brownies are usually the result of too much flour, too many eggs, or the addition of chemical leaveners like baking powder or baking soda. This Fudgy Chocolate Brownie Recipe intentionally omits leaveners and uses a very low ratio of flour to fat to ensure a dense, fudgy texture. Also, make sure you are weighing your flour with a scale rather than scooping it with a cup, which often leads to using too much flour. - Q: Can I substitute the liquid glucose?
A: Yes, you can substitute the liquid glucose with an equal amount of light corn syrup. Both are invert sugars that perform the same chemical function of preventing sugar crystallization. If you cannot find either, you can use honey, though it will introduce a distinct honey flavor to the brownies. - Q: How do I get that shiny, crinkly top on my brownies?
A: The shiny, paper-thin crust is actually a very thin layer of meringue that forms on top of the brownies as they bake. To achieve this, you must whip the eggs and sugars together vigorously until they reach the “ribbon stage” before adding the melted chocolate and butter. This ensures the sugar is fully dissolved and suspended in the egg proteins. - Q: Can I use natural cocoa powder instead of Dutch-process?
A: I do not recommend it for this recipe. Natural cocoa powder is highly acidic and has a lighter, more astringent flavor. Dutch-process cocoa has been neutralized, giving it a much darker color and a smoother, mellower, deeper chocolate flavor that is essential for the flavor profile of these brownies. - Q: How do I know exactly when the brownies are done baking?
A: Look for the visual cues rather than relying solely on the timer. The edges of the brownies should be set, slightly dry, and puffed up. The center should still have a very slight, lazy jiggle when you gently shake the pan. A toothpick inserted into the center should come out with a few moist, sticky crumbs—not wet batter, and not completely clean.